How to Smooth Skin in Premiere Pro in 3 steps
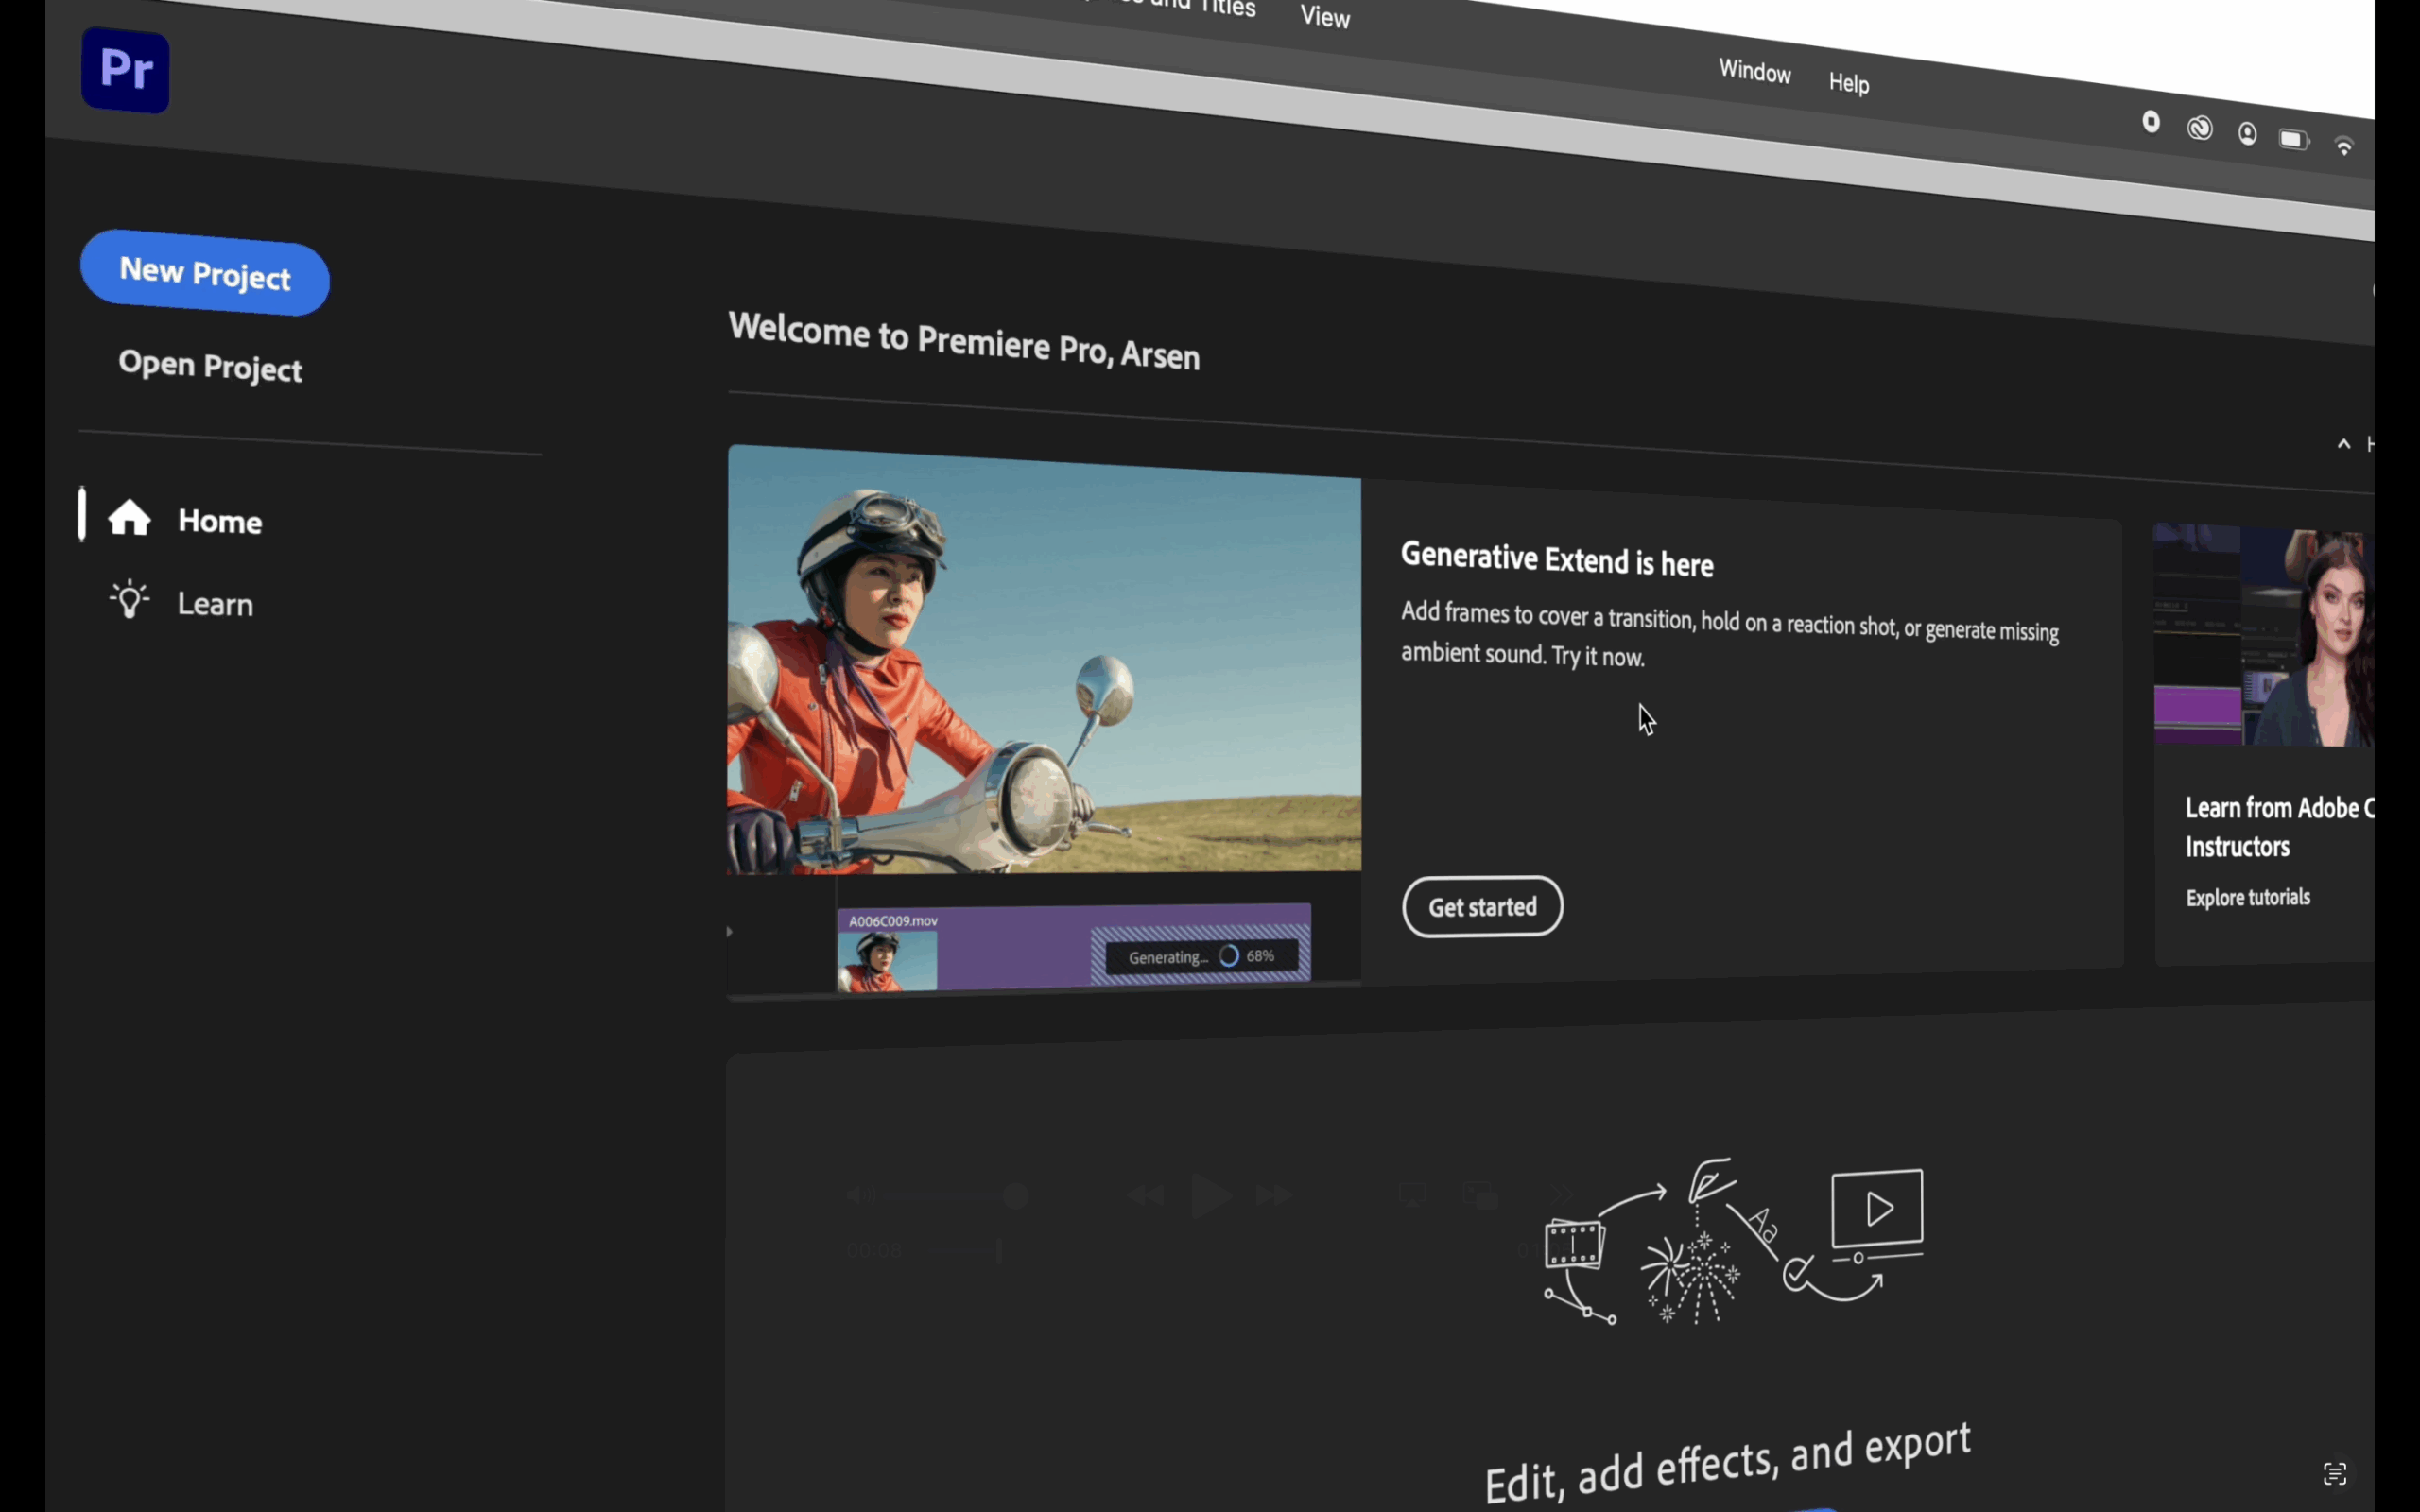
Video editing is all about balance – enhancing footage while keeping subjects natural. Skin retouching can be time-consuming, but the Imagenomic Portraiture Plugin makes it easy. Compatible with Premiere Pro, After Effects, and DaVinci Resolve, it delivers professional skin smoothing in just a few steps.
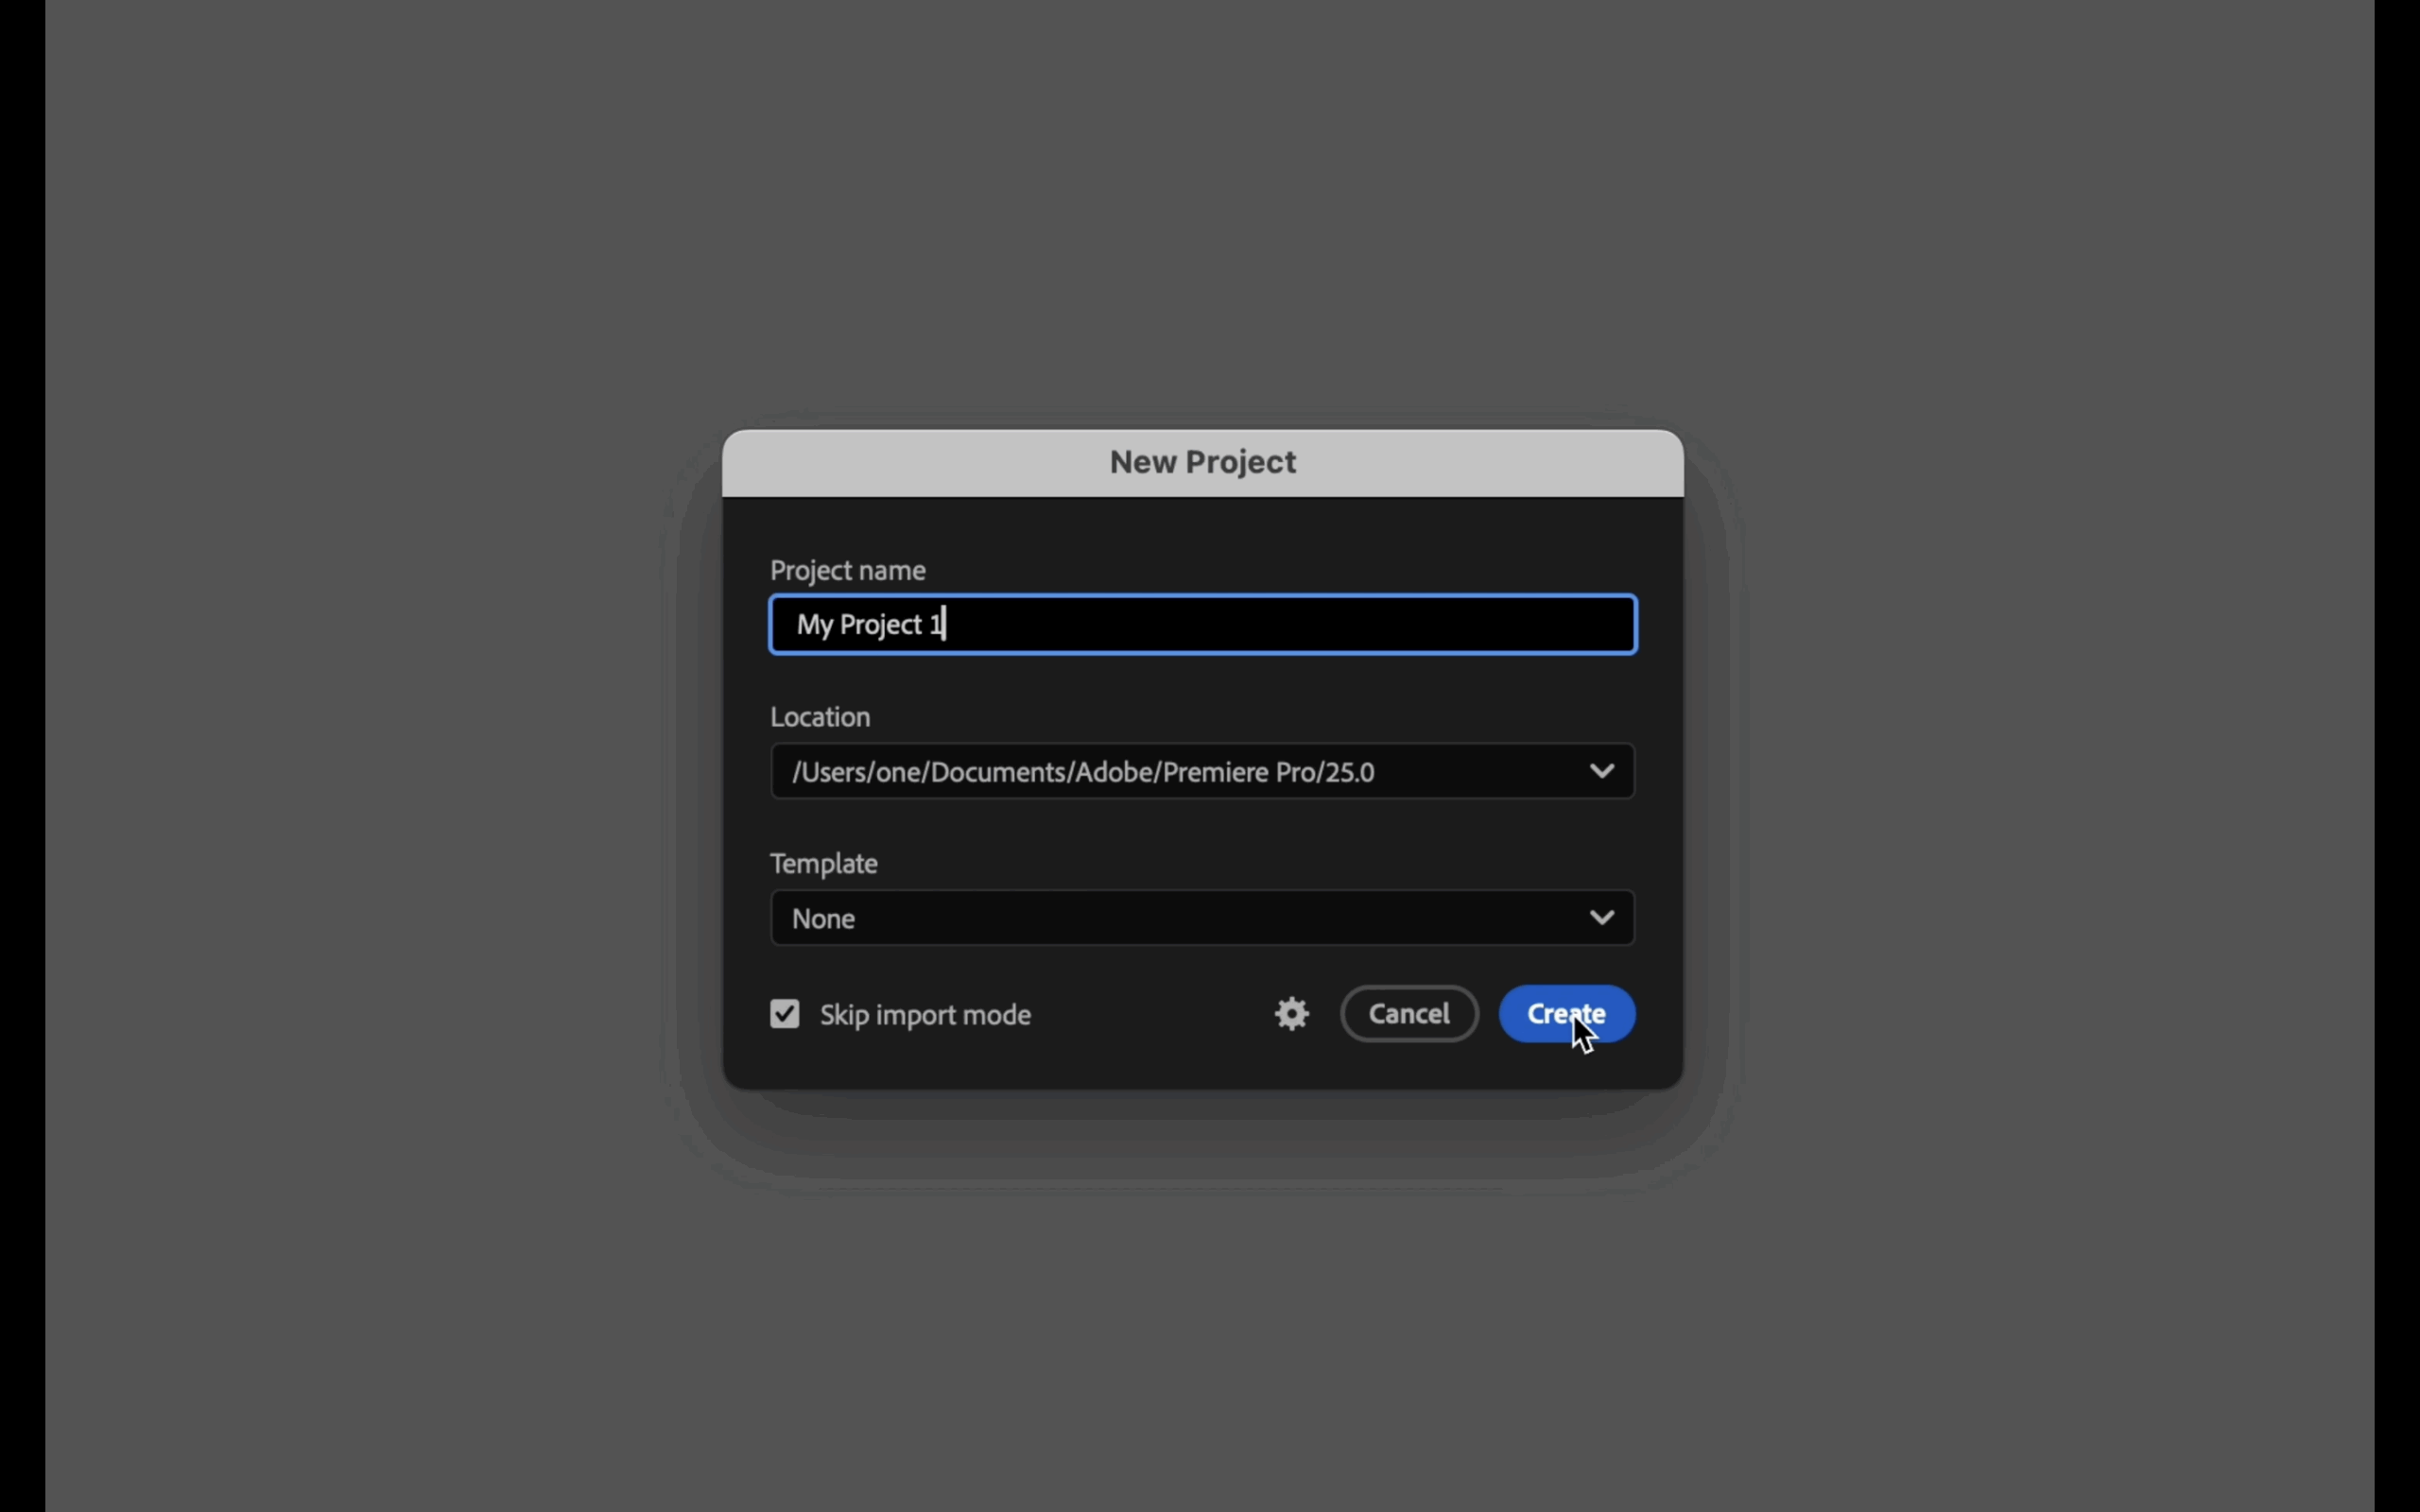
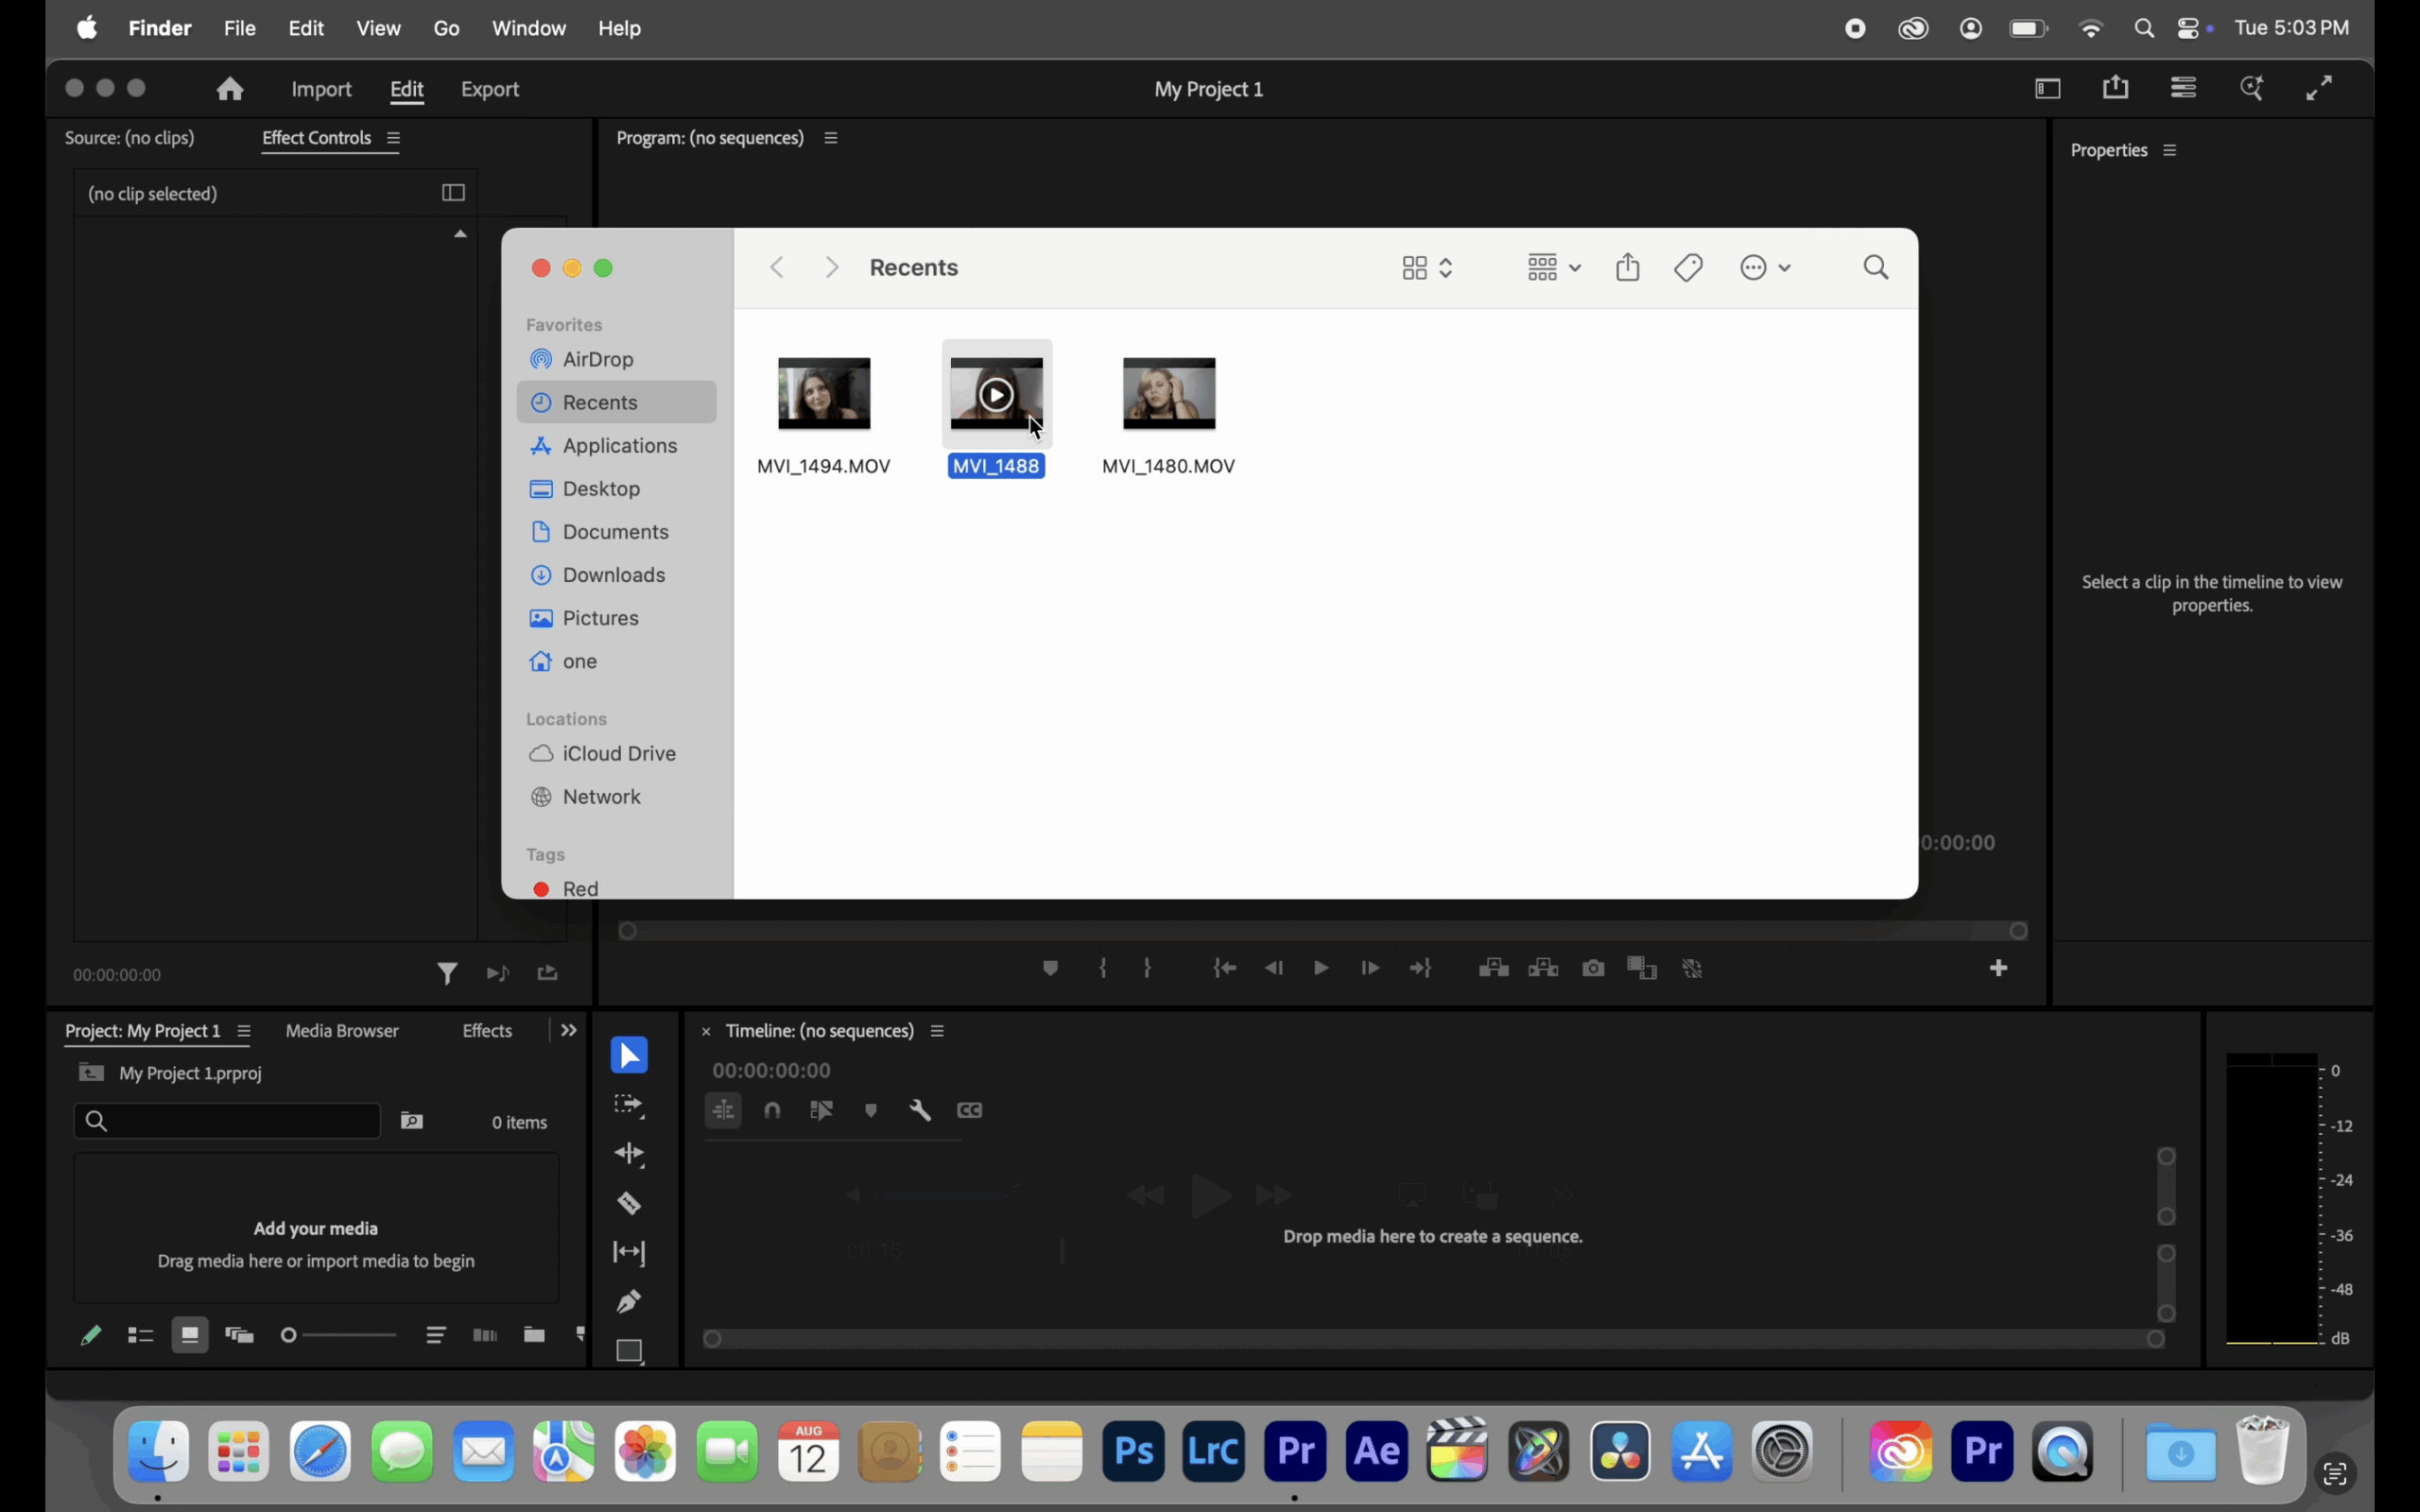
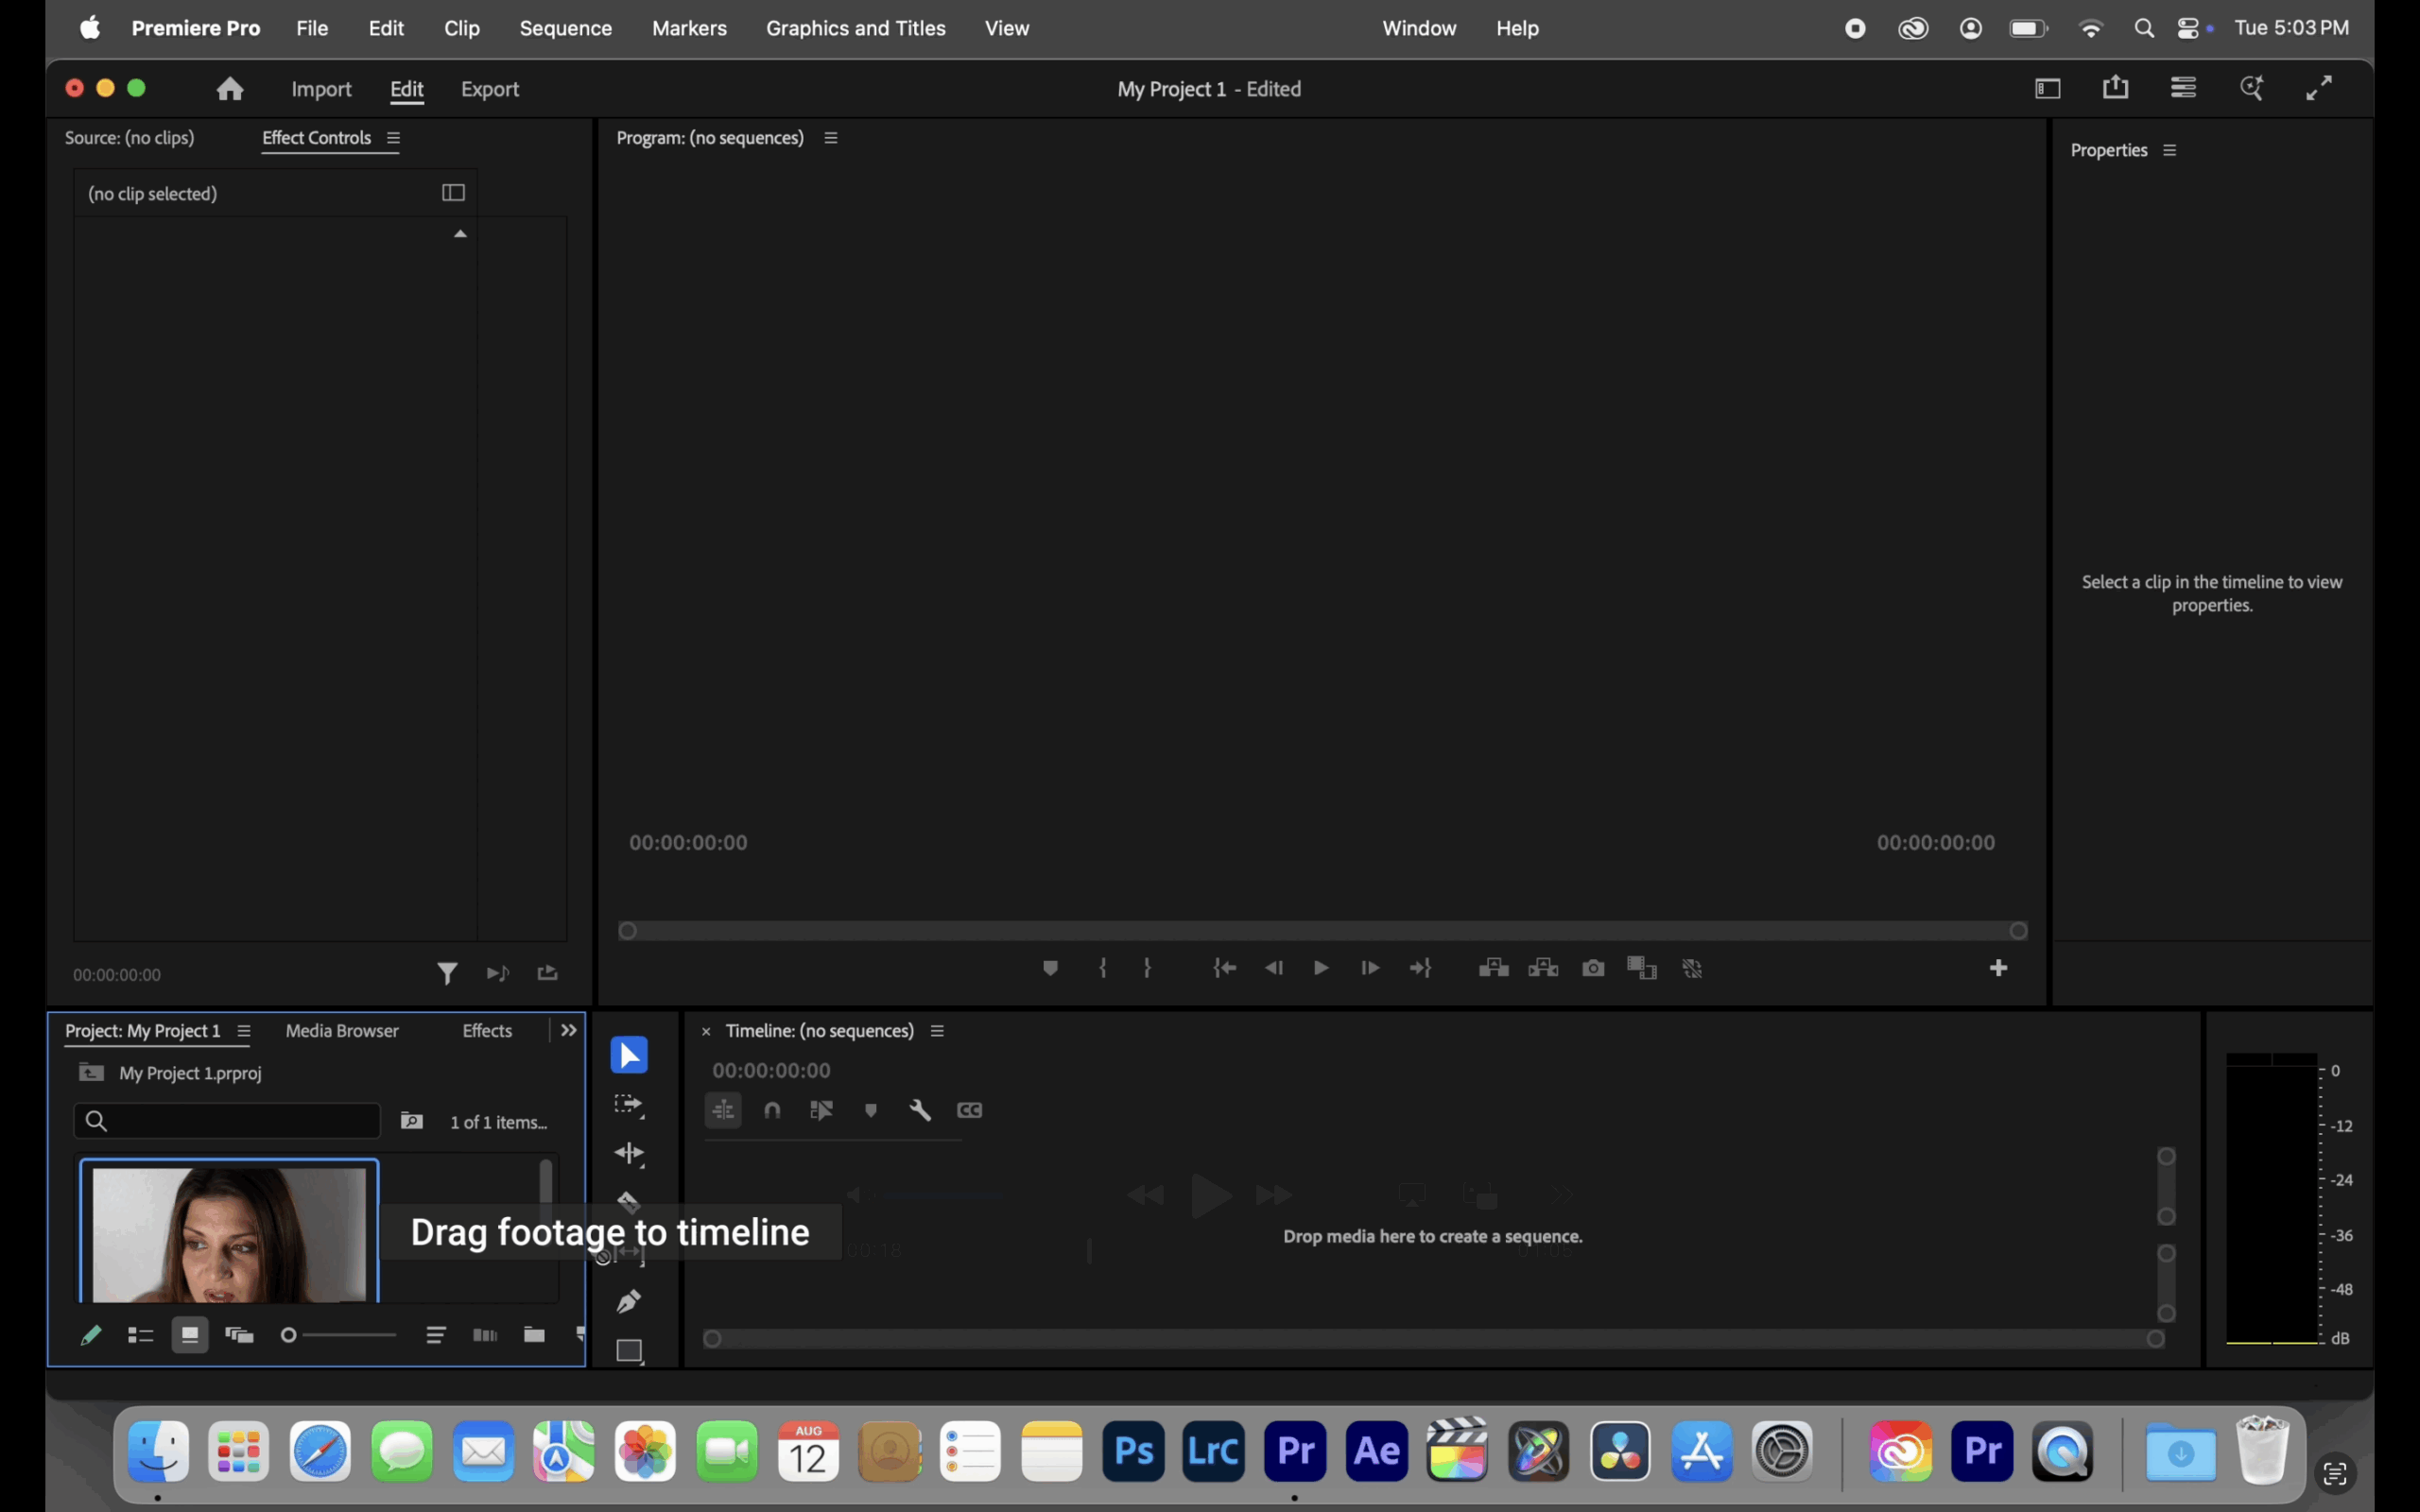
STEP 1. Create a Project
To begin, create a new project, import your video footage, and drag it onto the timeline. This sets the foundation for applying your edits.
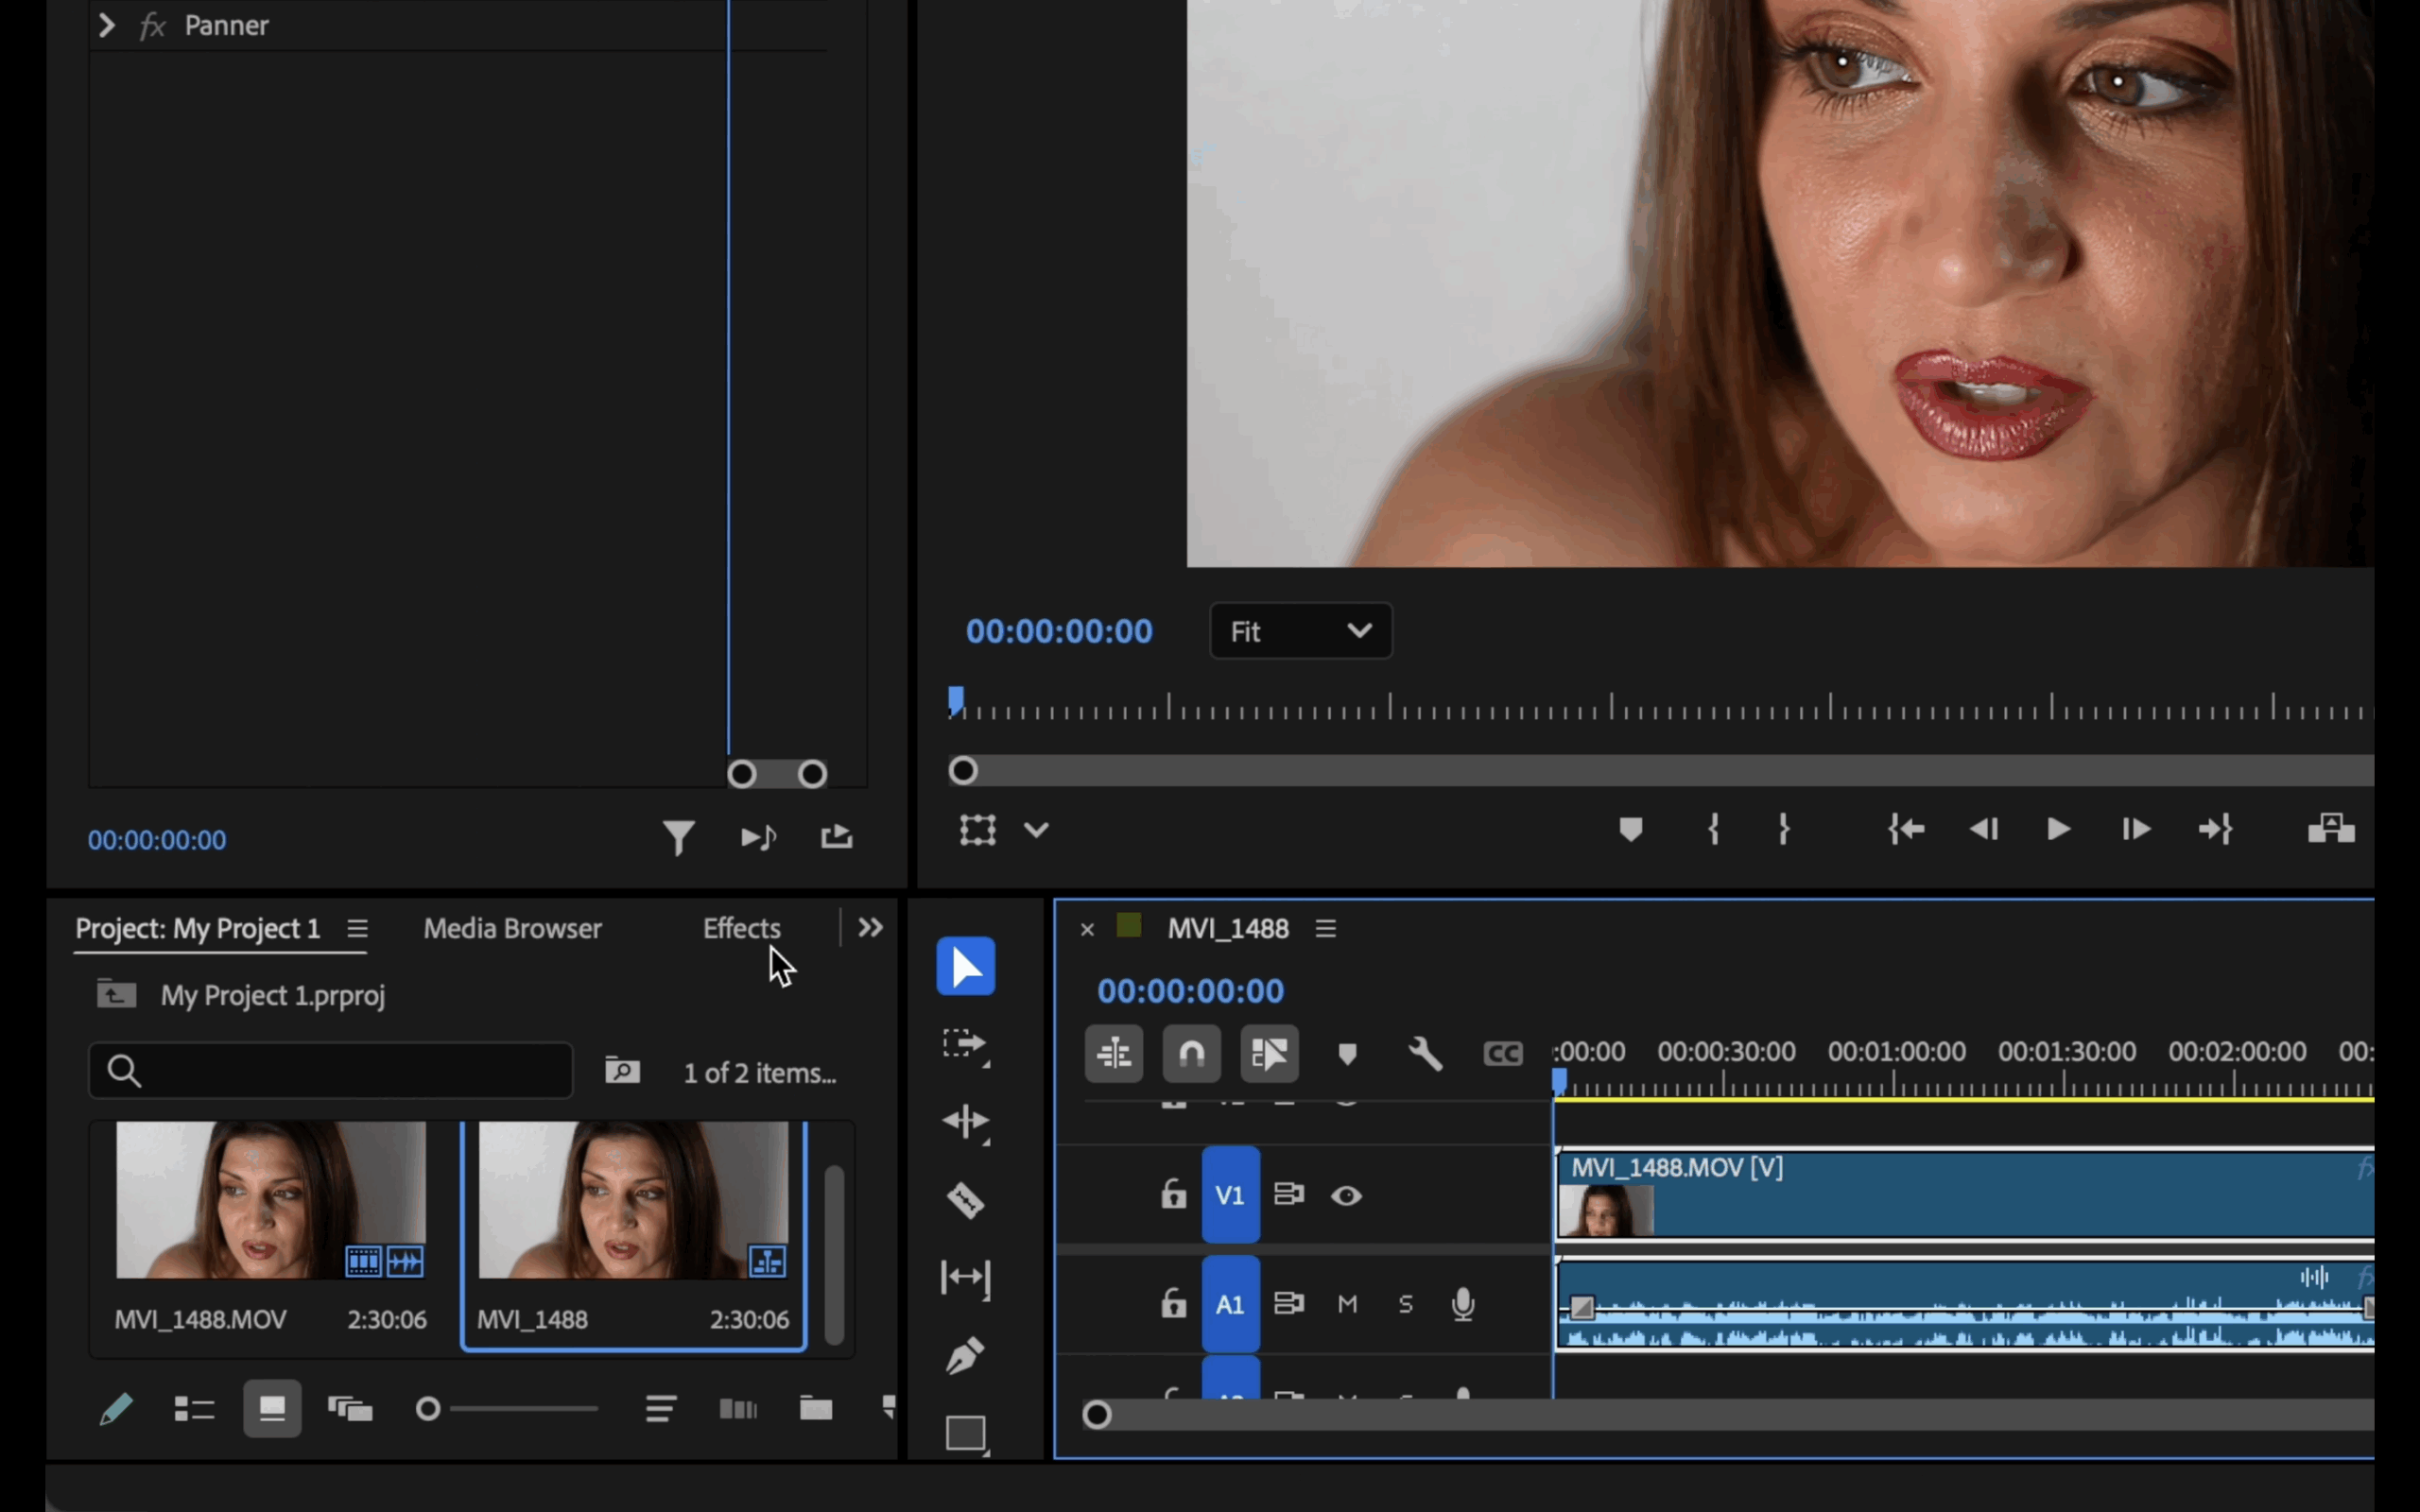
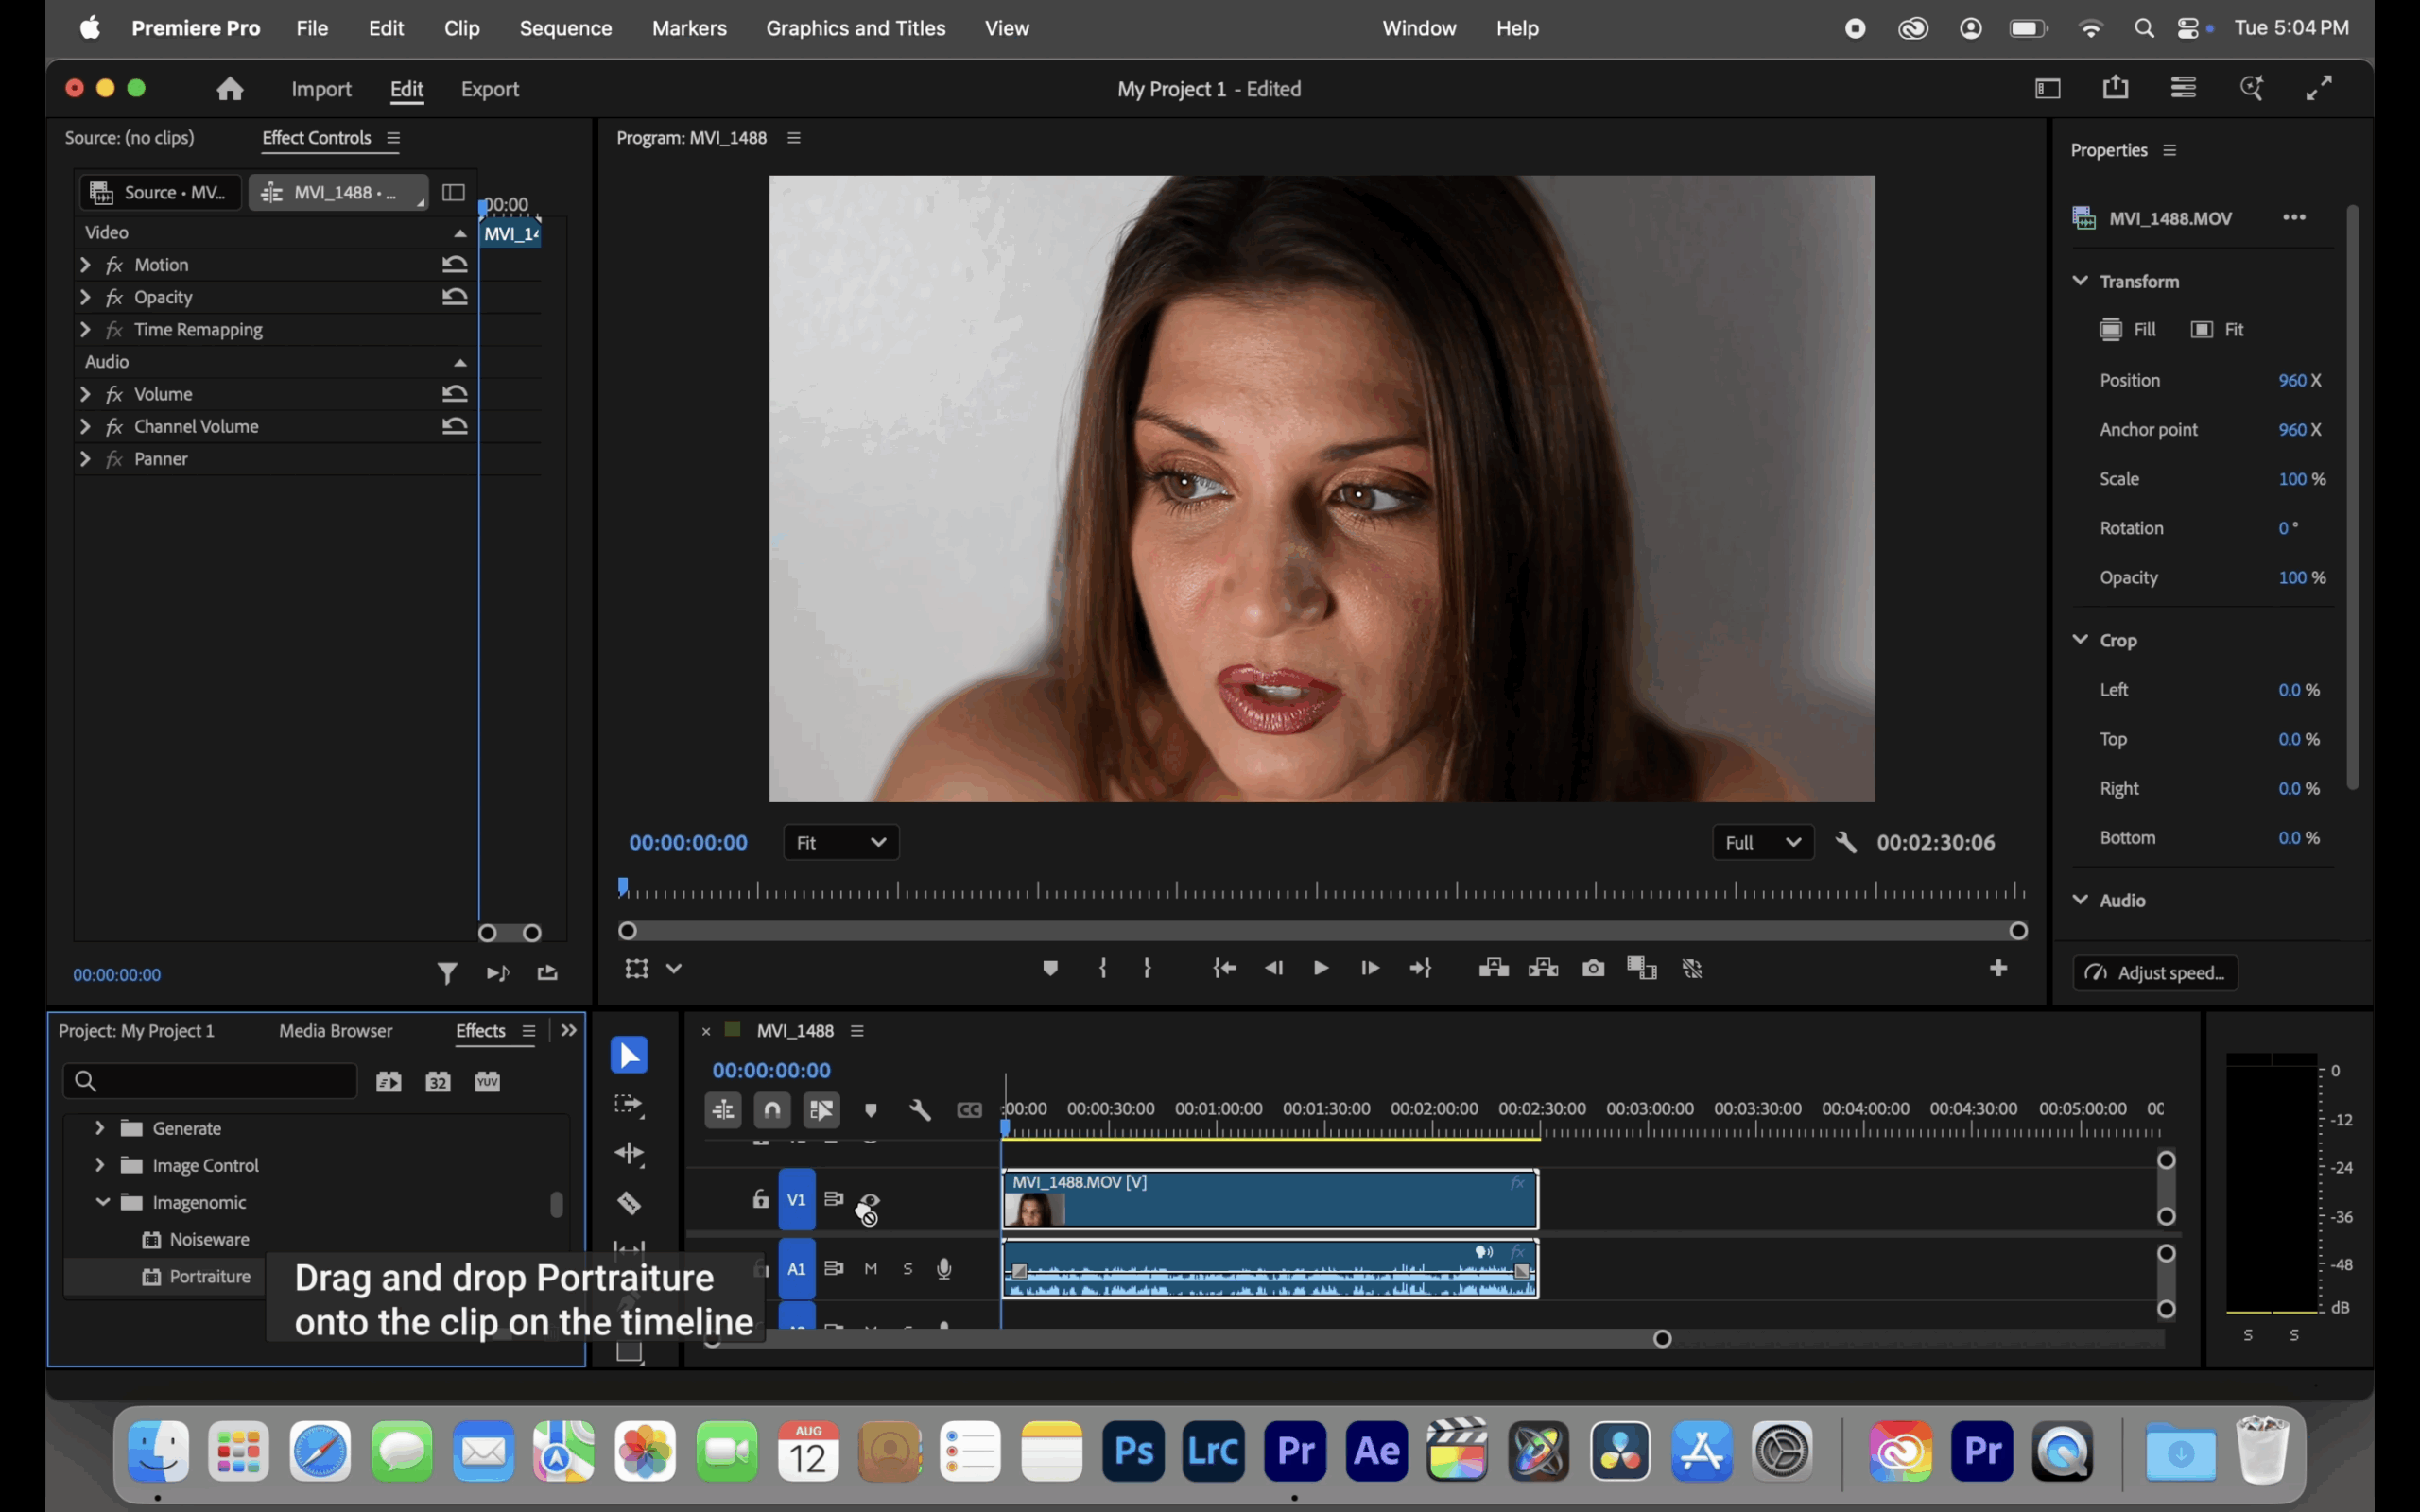
STEP 2. Add Portraiture Video to the clip
Once your clip is on the timeline, open the Effects panel and navigate to Video Effects > Imagenomic > Portraiture. Simply drag and drop the Portraiture effect onto your clip, and you’re ready.
By enabling the Before/After view, you can instantly compare your original footage with the retouched version, ensuring that skin looks smooth and natural while preserving essential details.
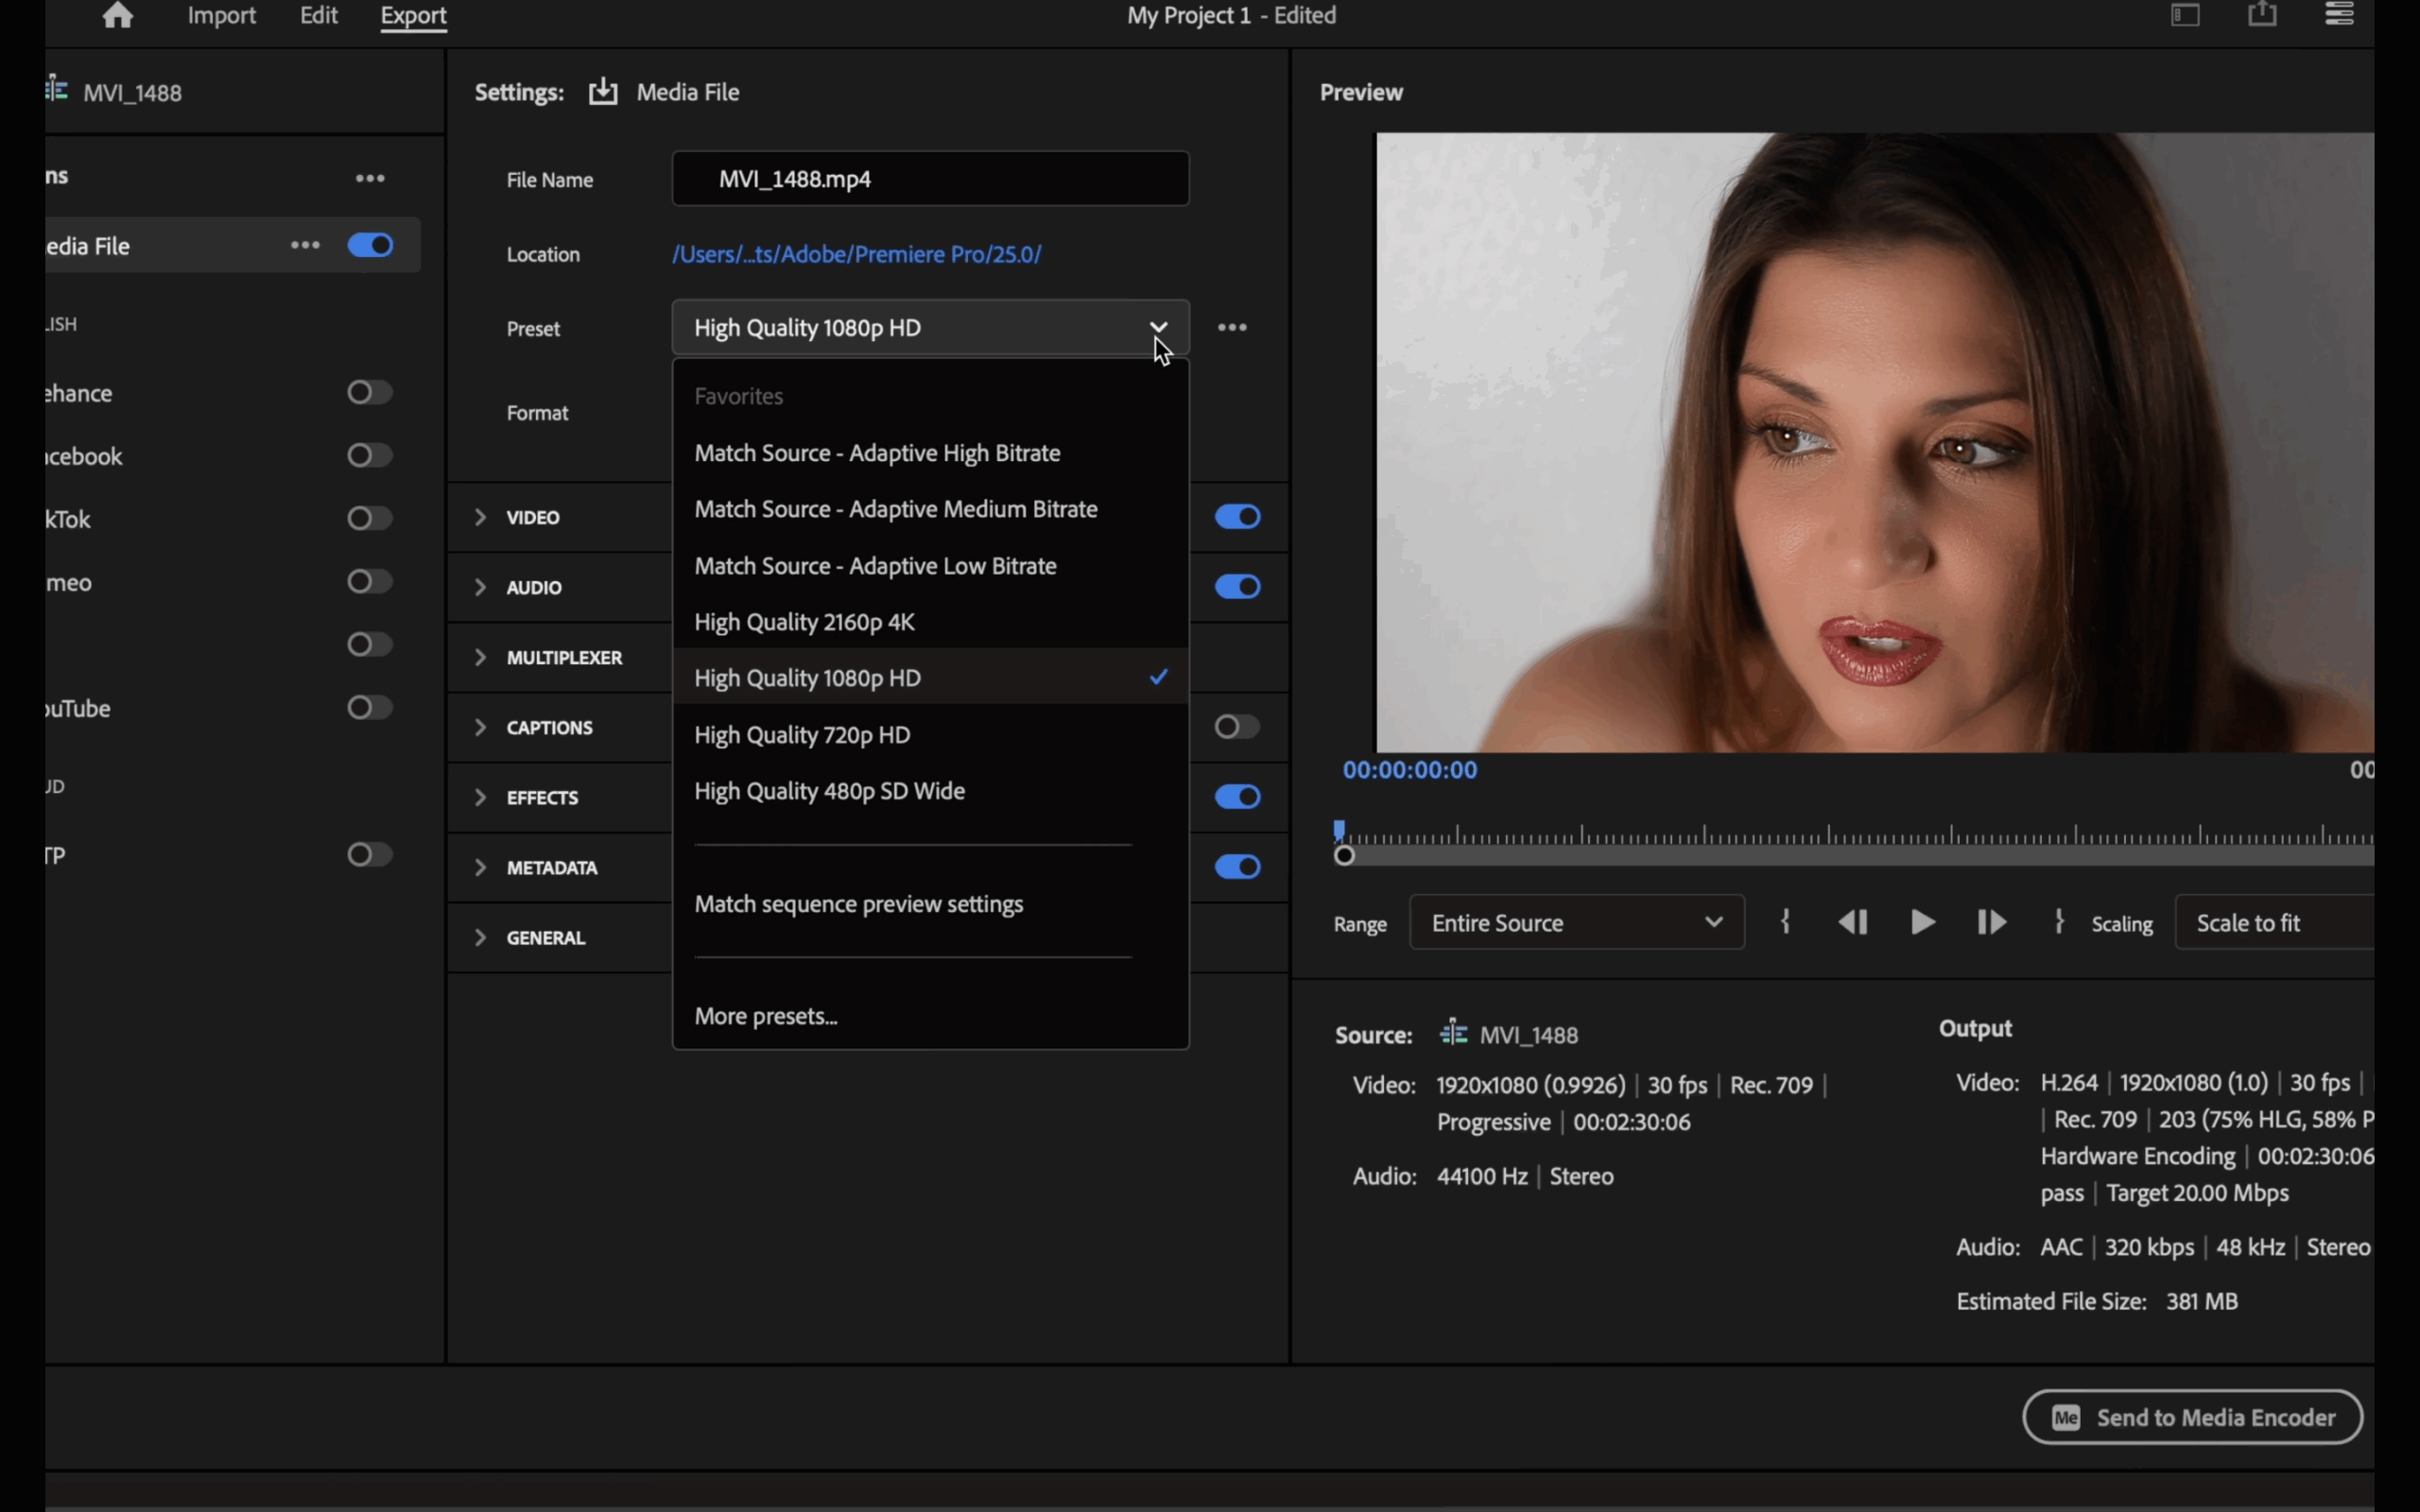
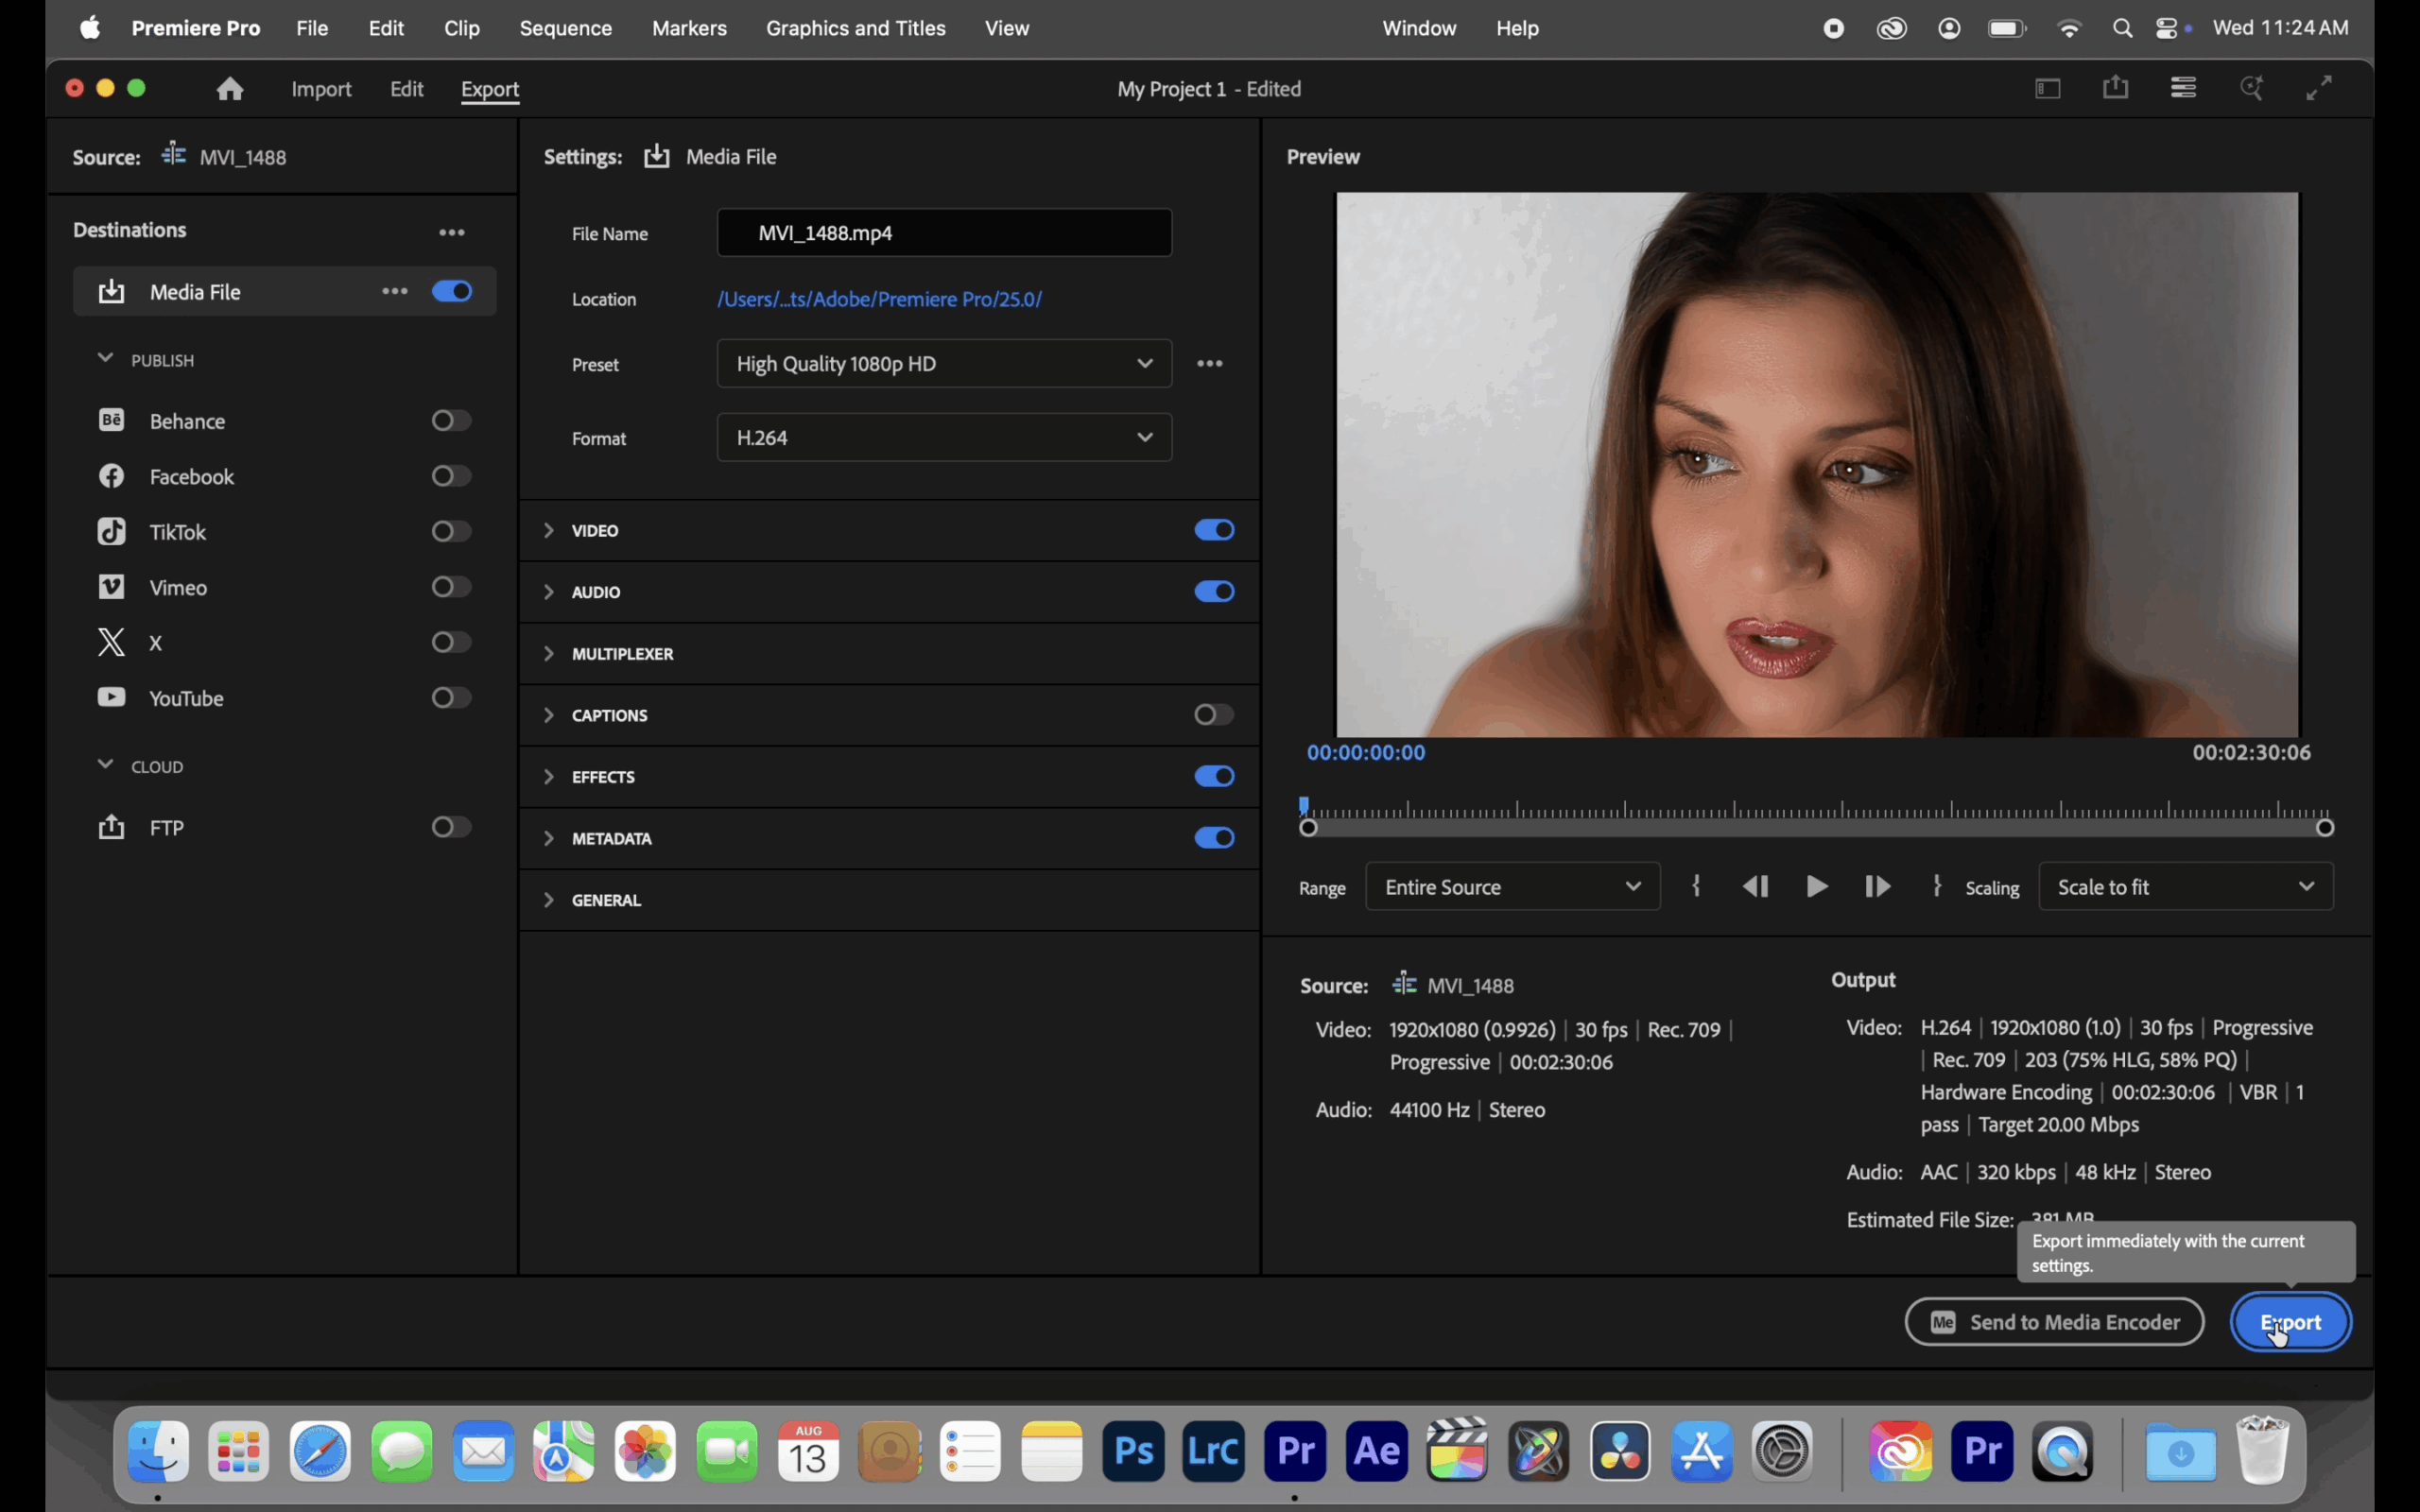
STEP 3. Export
Turn off the Before/After view, switch over to the Export tab, and choose the output format that best suits your project – whether that’s MP4, MOV, or another standard. With a quick export, your polished video is ready to share.
Portraiture isn’t just about smoothing skin – it’s about saving time and maintaining quality. Instead of spending hours with manual masking and touch-ups, editors can rely on its intelligent skin-retouching algorithms to achieve professional results in minutes. This makes it an essential tool for anyone working on interviews, commercials, films, or any project where people are the focus.