How to Smooth Skin in DaVinci Resolve in 3 Simple Steps
If you’re editing in DaVinci Resolve and want smooth, natural-looking skin without hours of masking, you’re in the right place. With the Imagenomic Portraiture plugin, you can retouch skin directly in Resolve in just a few clicks.
This quick guide shows you how to smooth skin in DaVinci Resolve in 3 simple steps – perfect for beauty videos, interviews, or cinematic projects.
⚡ Quick Workflow Example
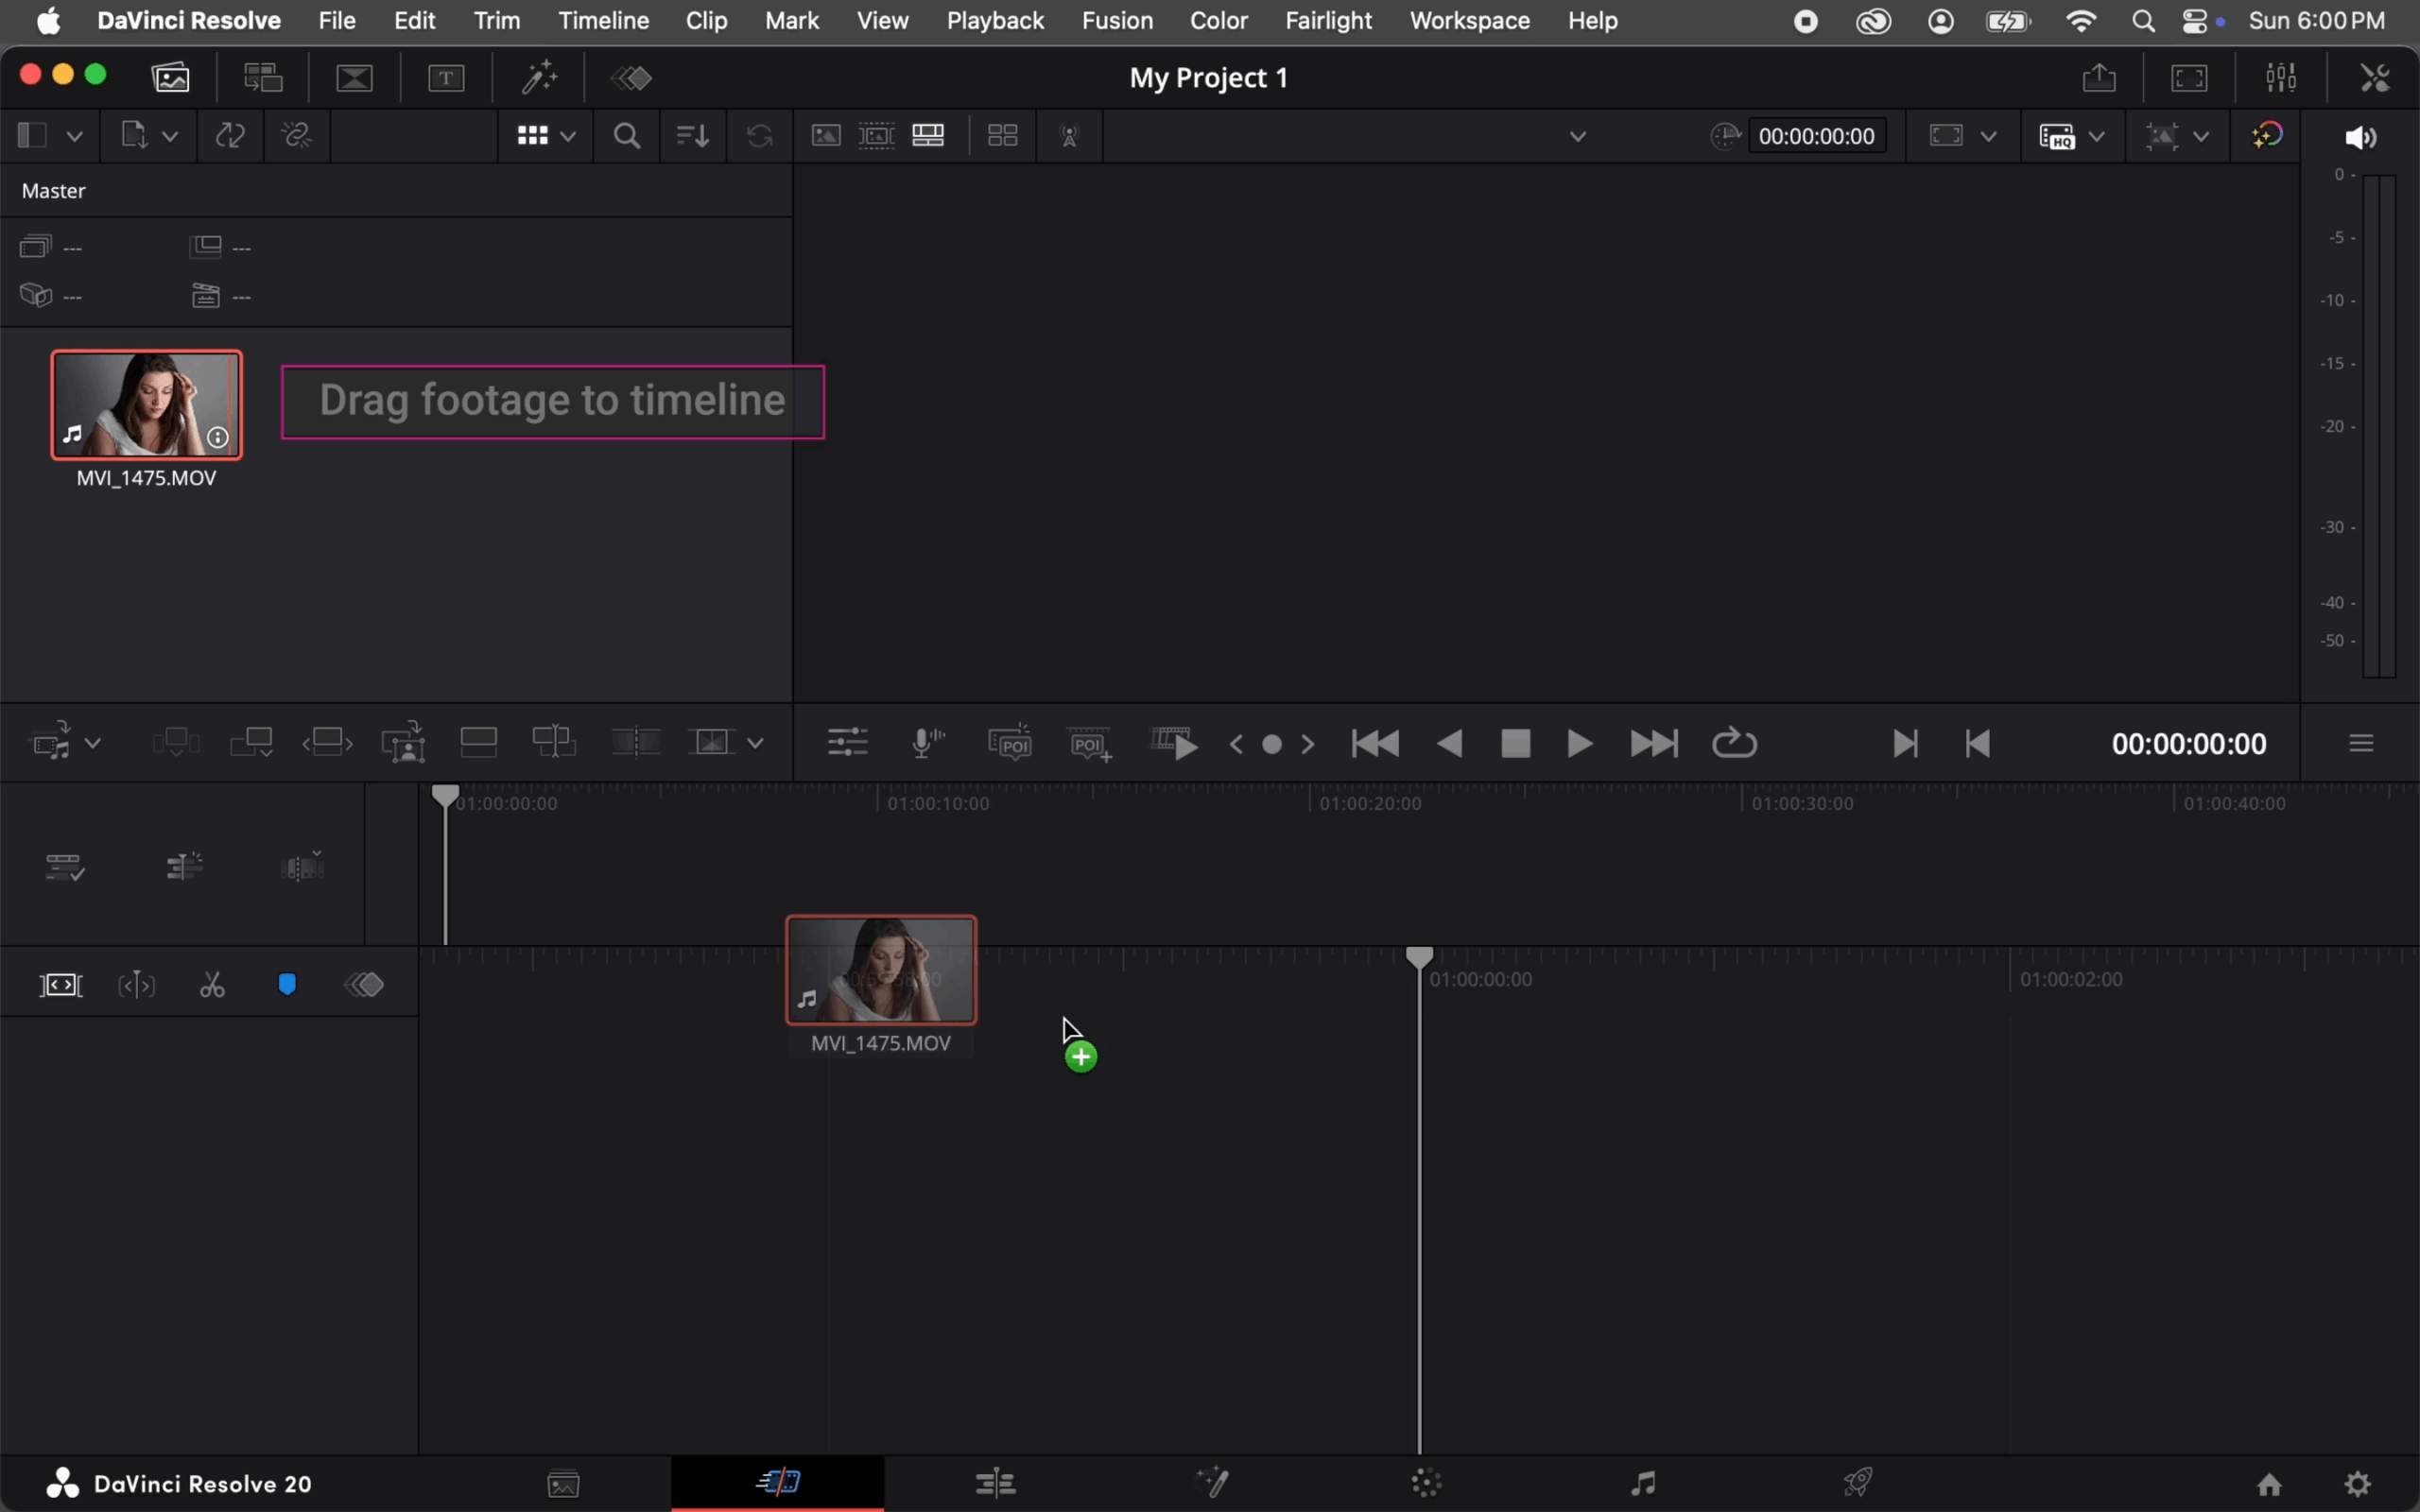
- Create a new project in DaVinci Resolve, import your footage, and place it on the timeline.
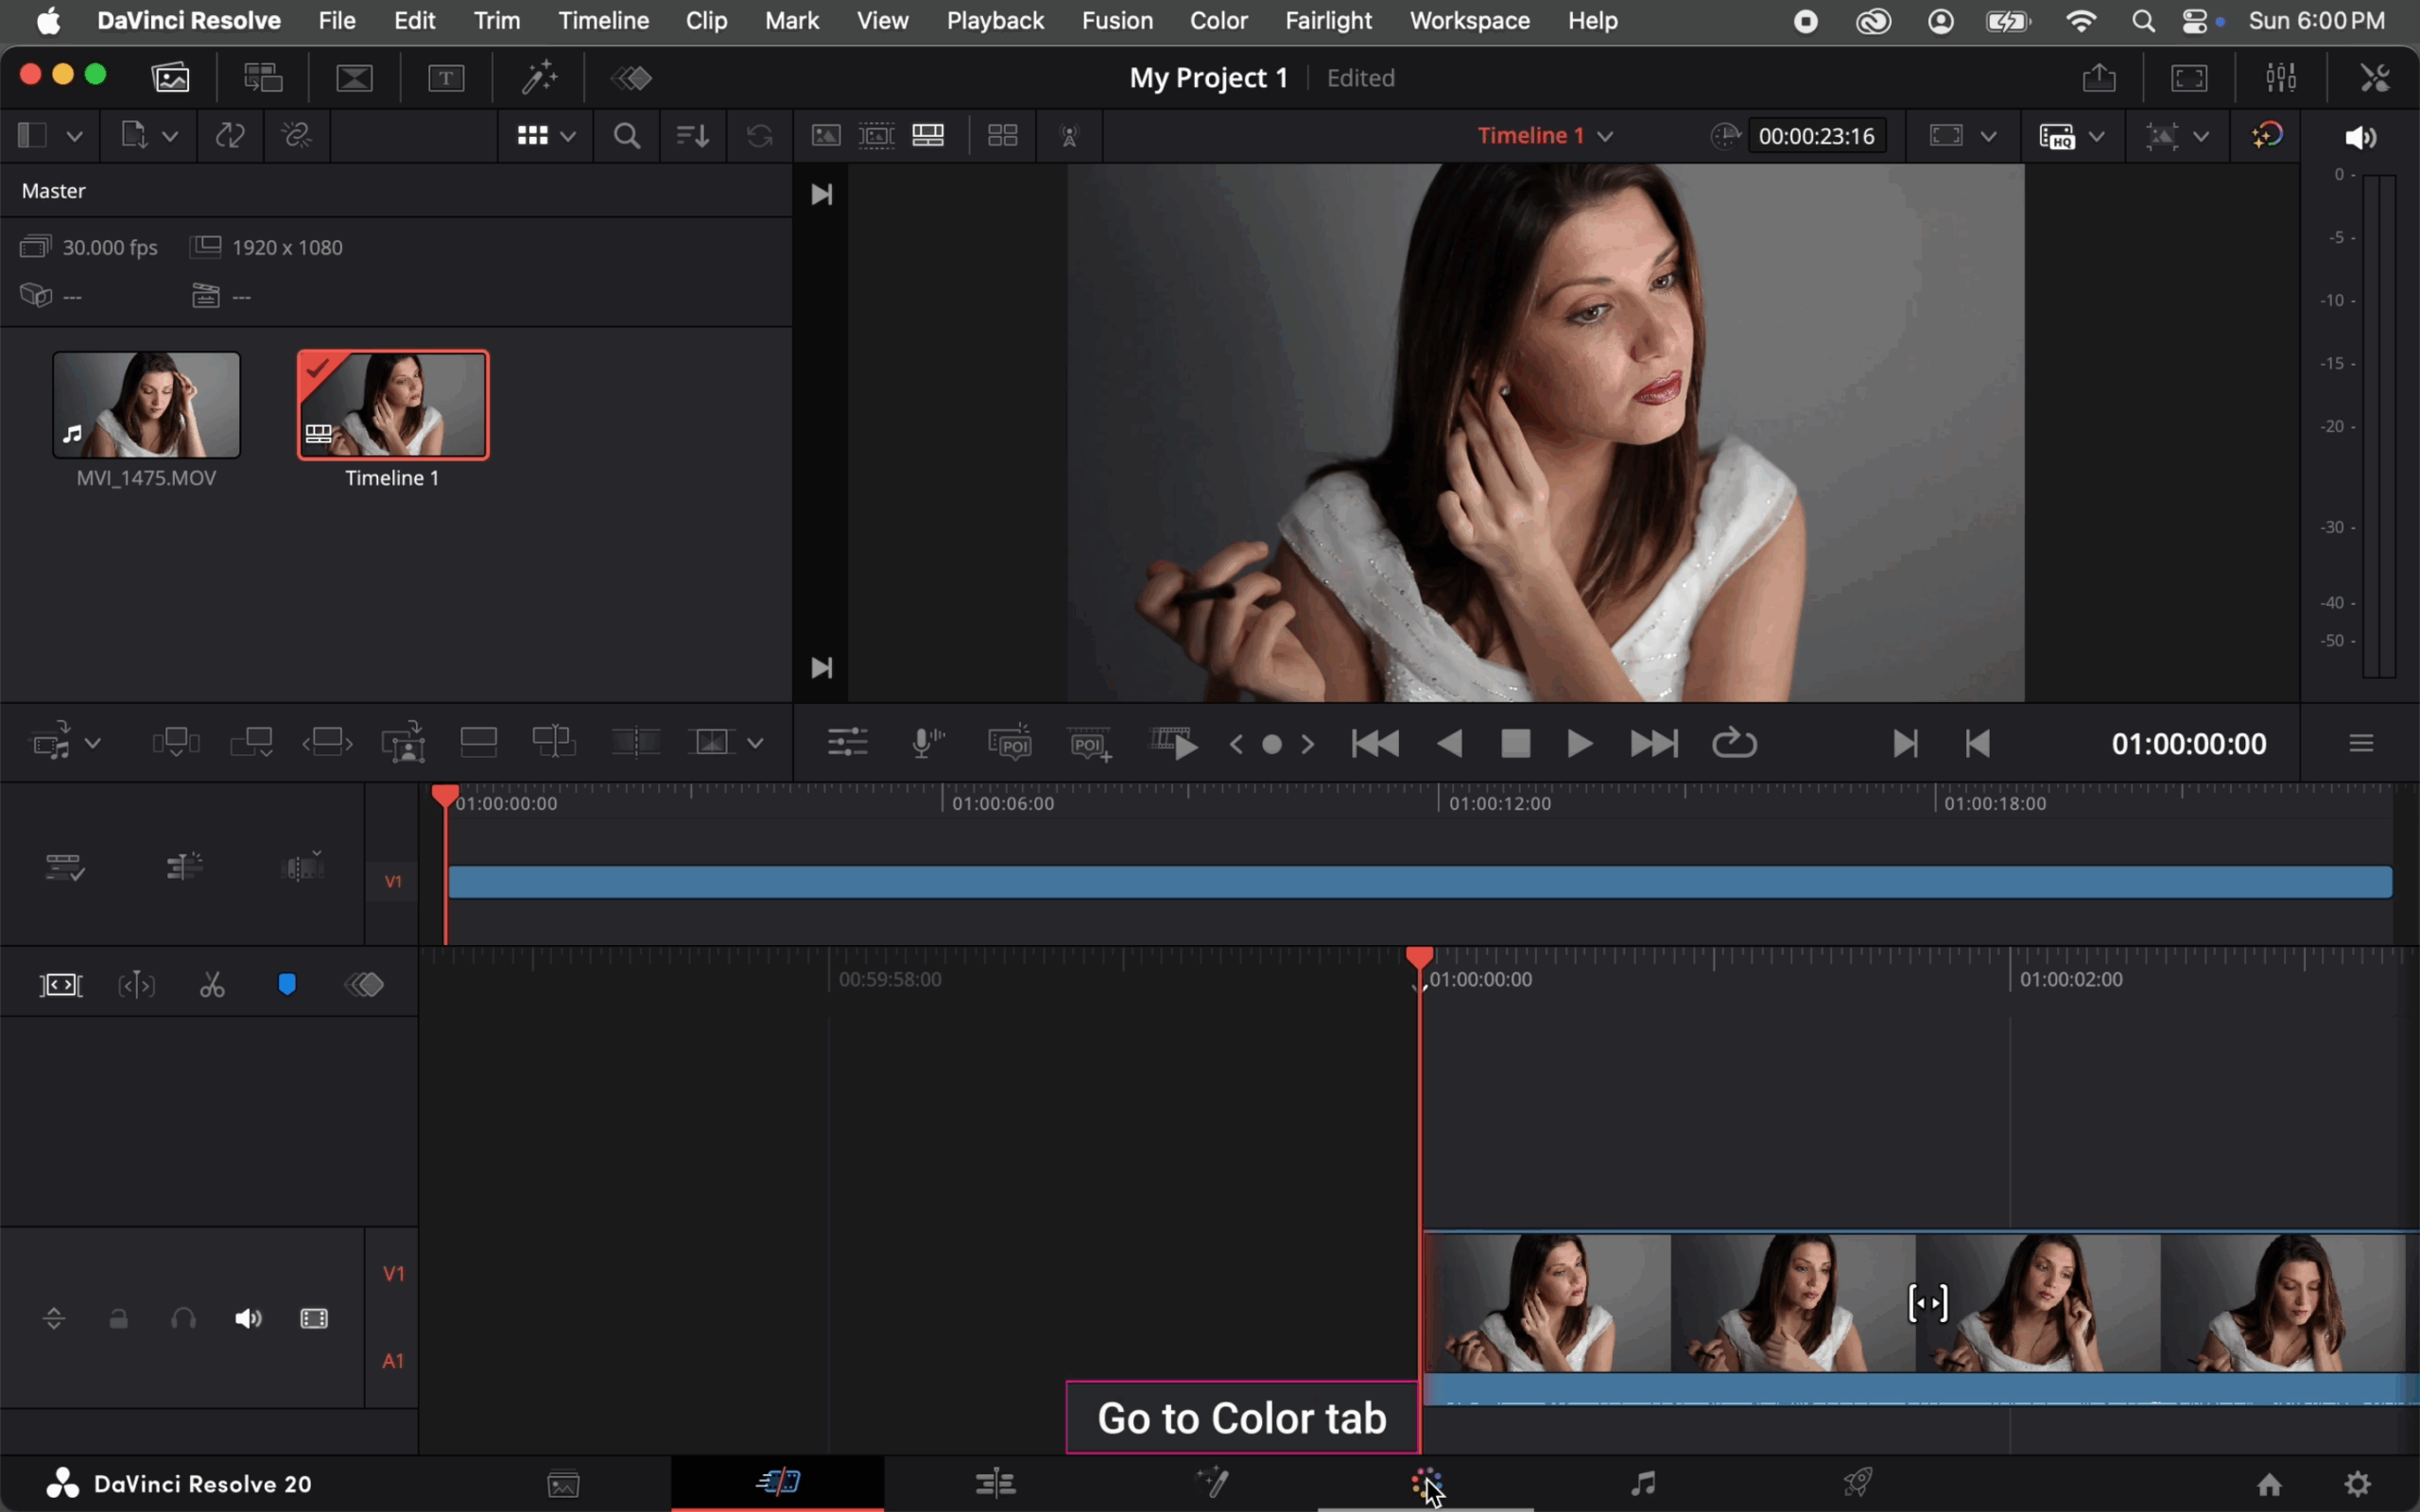
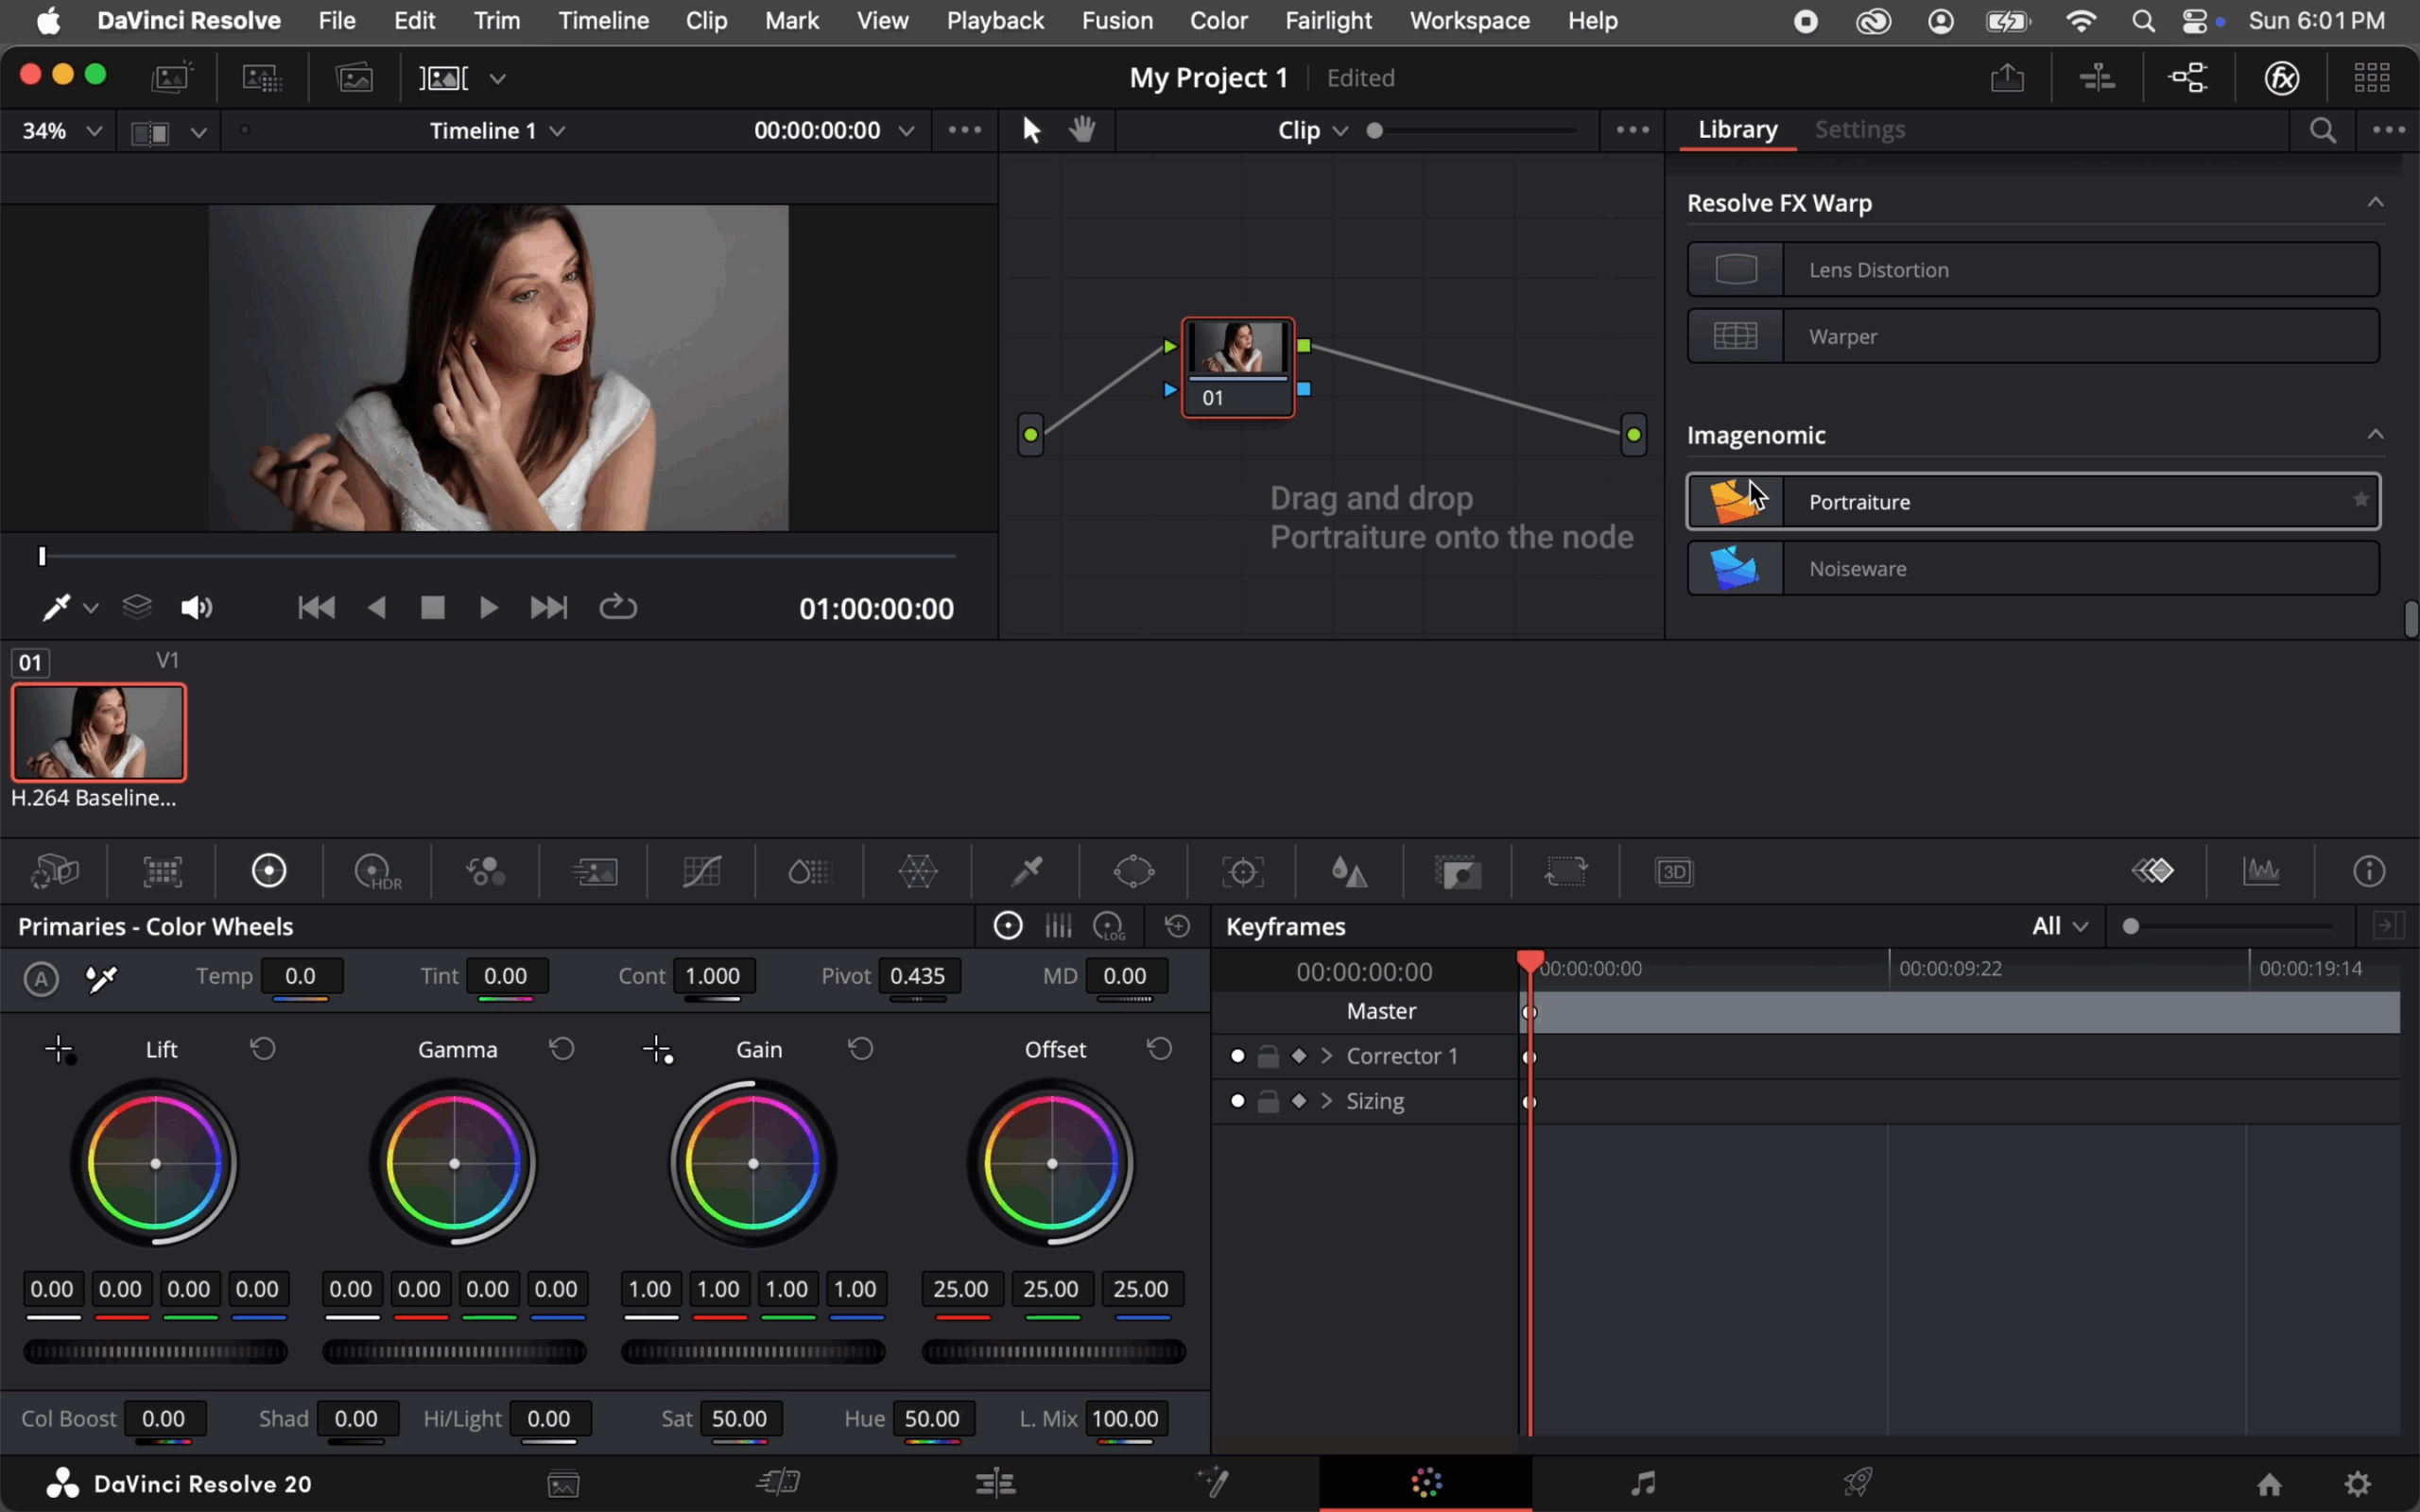
- Go to the Color tab, open the Effects Library, and drag the Imagenomic Portraiture plugin onto your node.
- Enable the Before/After view and adjust the smoothing until the skin looks natural. Switch to the Deliver tab, add the clip to the Render Queue, and click Render All to export.
✅ Done! In less than 5 minutes, you’ve got smooth, natural-looking skin without heavy masking or complicated grading.